
How to migrate DNS zone to Cloudflare
Cloudflare offers powerful DNS management with enhanced security and performance benefits. This guide explains how to configure your domain’s DNS records in Cloudflare, perfect for website owners who manage their hosting through cPanel interfaces but might want to utilise the powerful features provided by Cloudflare including the free CDN.
Setting Up Cloudflare in cPanel
1. Log in or create a Cloudflare account.
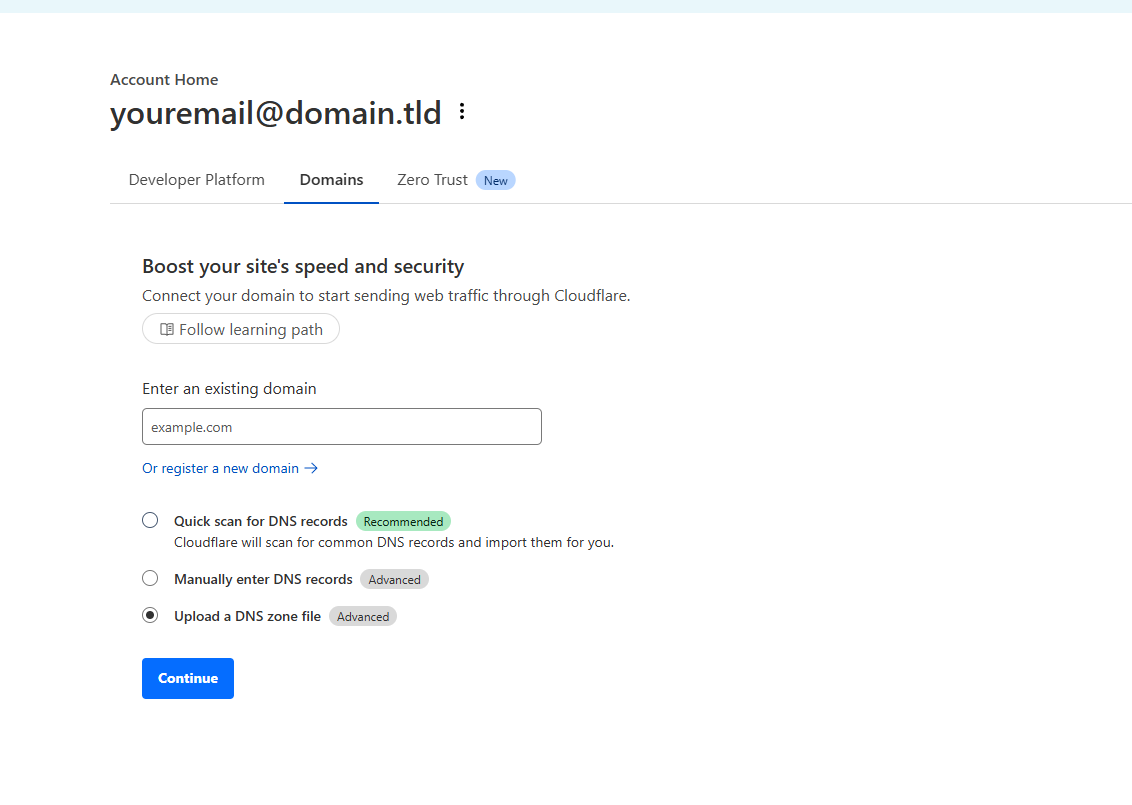
2. From the Cloudflare dashboard, enter your domain. You can use the quick scan feature, manually enter DNS records, or import a DNS zone file. Click Continue to proceed.
3. Choose a plan for your domain. For the purposes of this guide, we’ll be using the Free plan, but you may select any plan based on your needs.

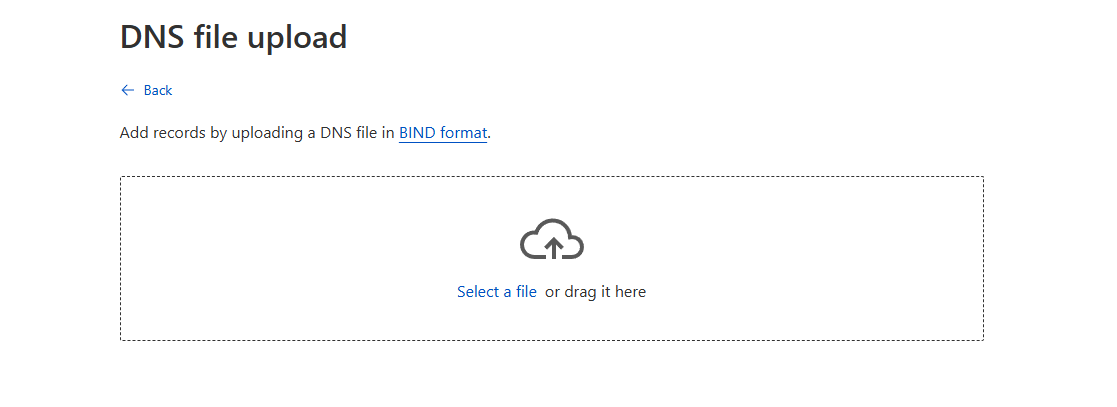
3. If you chose to import a DNS zone file, you’ll now be prompted to upload it. Drag and drop your exported DNS zone file into the provided upload box.
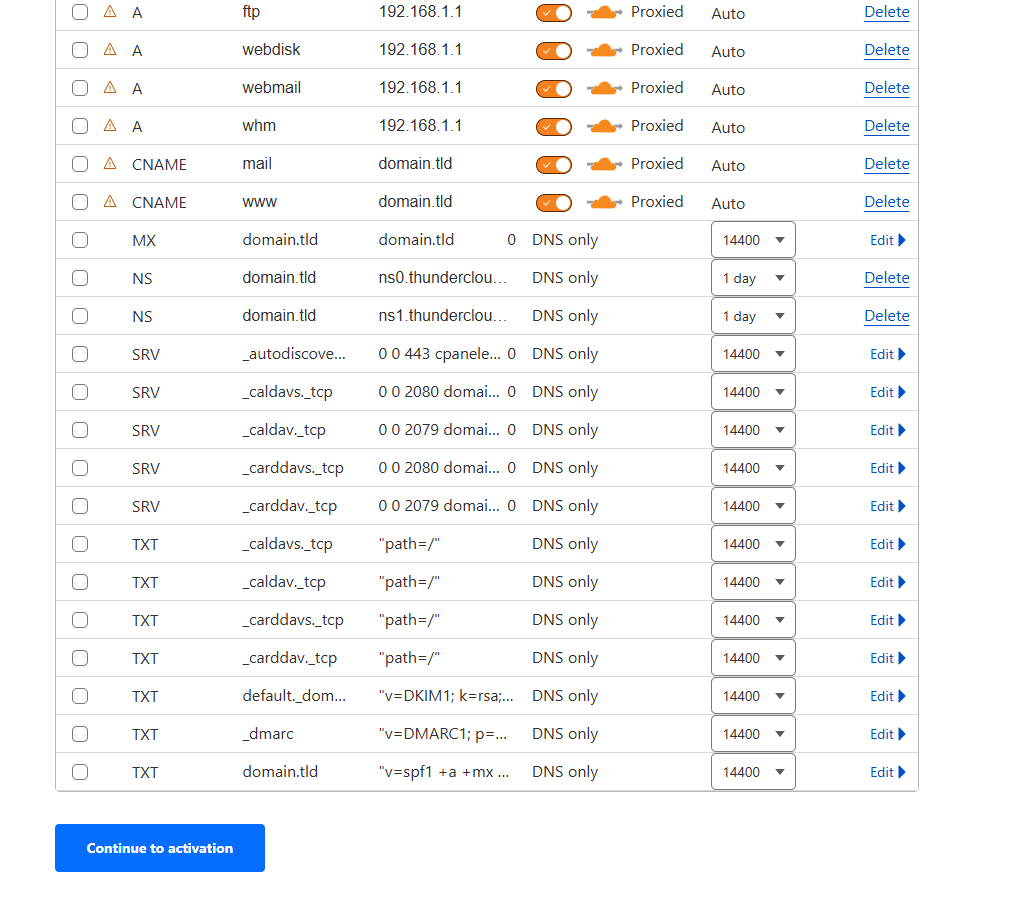
4. Once your records (or zone file) have been added, click Continue to Activation.
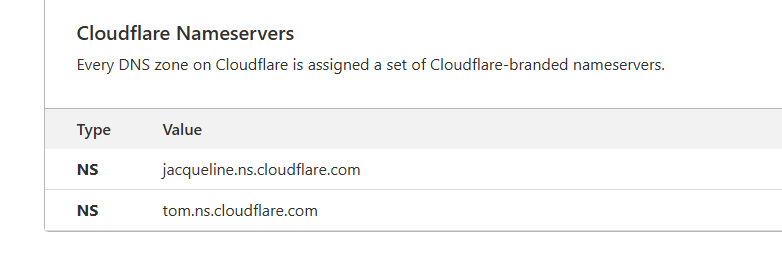
5. Finally, update your domain’s nameservers to the ones provided by Cloudflare to complete the setup.
6. Verify you can check the status with an external tool. DNS propagation using a DNS checker tool. Allow up to 24-48 hours for the DNS changes to fully propagate globally, though Cloudflare typically processes changes within minutes.