
How can I connect with SSH?
SSH or Secured Shell is a network protocol that allows you to connect and manage a server via a CLI or command line interface. This is perfect for power users who have more advanced knowledge. When used correctly, these commands can significantly increase the speed of administrative & development tasks.
Most Linux distributions & MacOS support using SSH out of the box. Some versions of Microsoft Windows requires additional software to connect. PuTTY is an example of this software.
As a Premium Hosting or Premium Reseller you have access to SSH. We currently only support SSH via key pairs that include a public and private key, this is fundamentally more secure than password-based access which is disabled on our shared service.
Learn how to connect via SSH
The following will help you create an SSH keypair on different operating systems including Unix-based (Linux, MacOS) and Windows based operating systems. After you have created your keypair you can upload your public key to the server, keeping your private key secure on your device.
This is then ready for when you want SSH access to your account.
Create a keypair on Unix-based systems
1. Open a terminal window
2. Enter the following command
ssh-keygen -t rsa3. By default your key pair will save in your systems /user/.ssh/ directory with the name id_rsa unless you wish to change this press the Enter key on your device.
4. When prompted to enter a passphrase and repeat it when asked, press your Enter key to proceed.
5. You will see the randomart image along with the key fingerprint upon successful generation.
Create a keypair on Microsoft Windows
1. Download PuTTY as a package file. This will include the PuTTYgen tool.
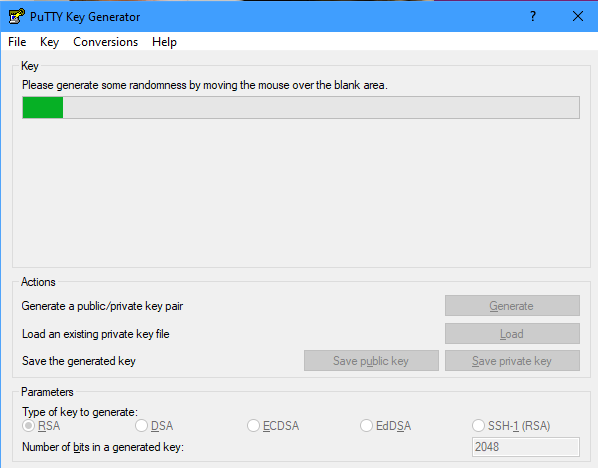
2. Open PuTTYgen. If you want you can choose different key types and increase the size, for this guide we will be using the default RSA, 2048.
3. Click Generate and start moving your mouse cursor around the PuTTYgen window to create your keypair.
4. Enter & repeat your key passphrase in the boxes provided.
5. Save the private key to the same rememberable, easily accessible, area of your computer. This could your documents or desktop area.
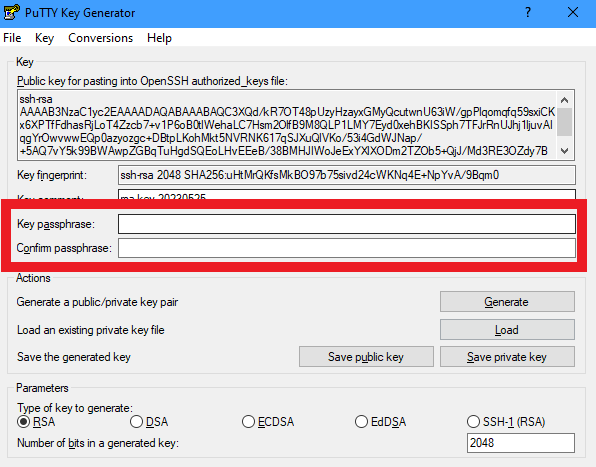
6. Keep PuTTYgen open so you can copy your public key over to cPanel easily. Highlight the key and use CTRL+C on your keyboard to add it to the clipboard, then paste into cPanel.
How to add your public key to cPanel
1. Login to your cPanel account.
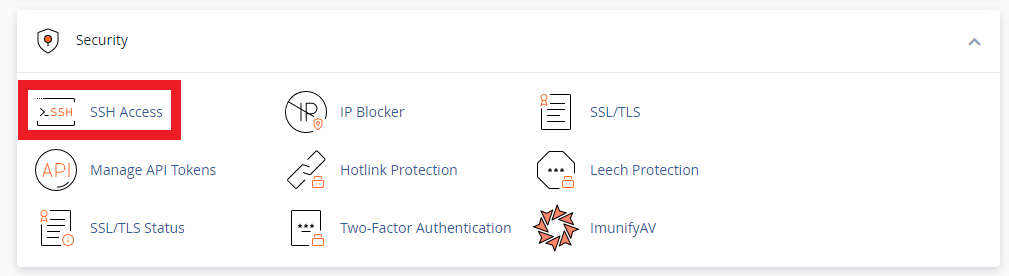
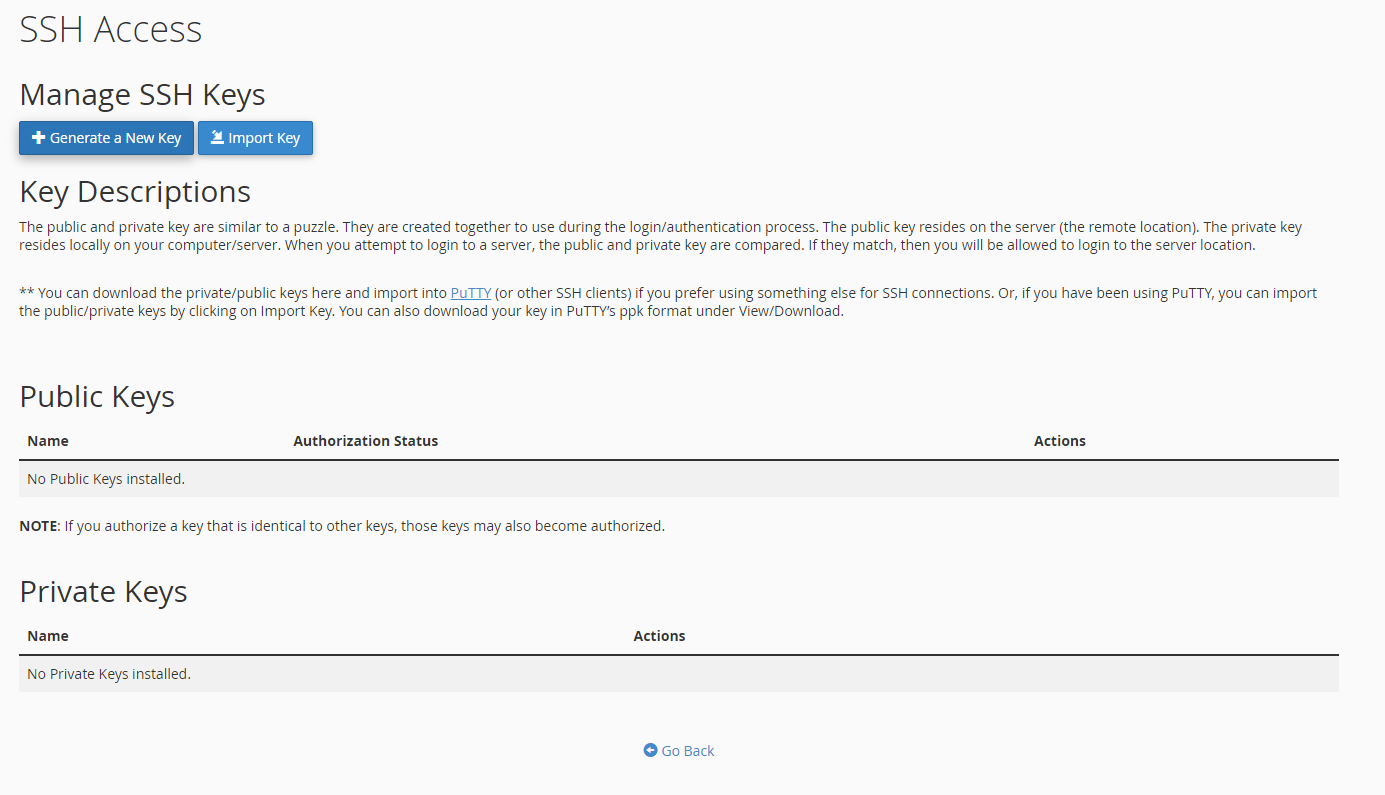
2. Under the Security tab click SSH Access.
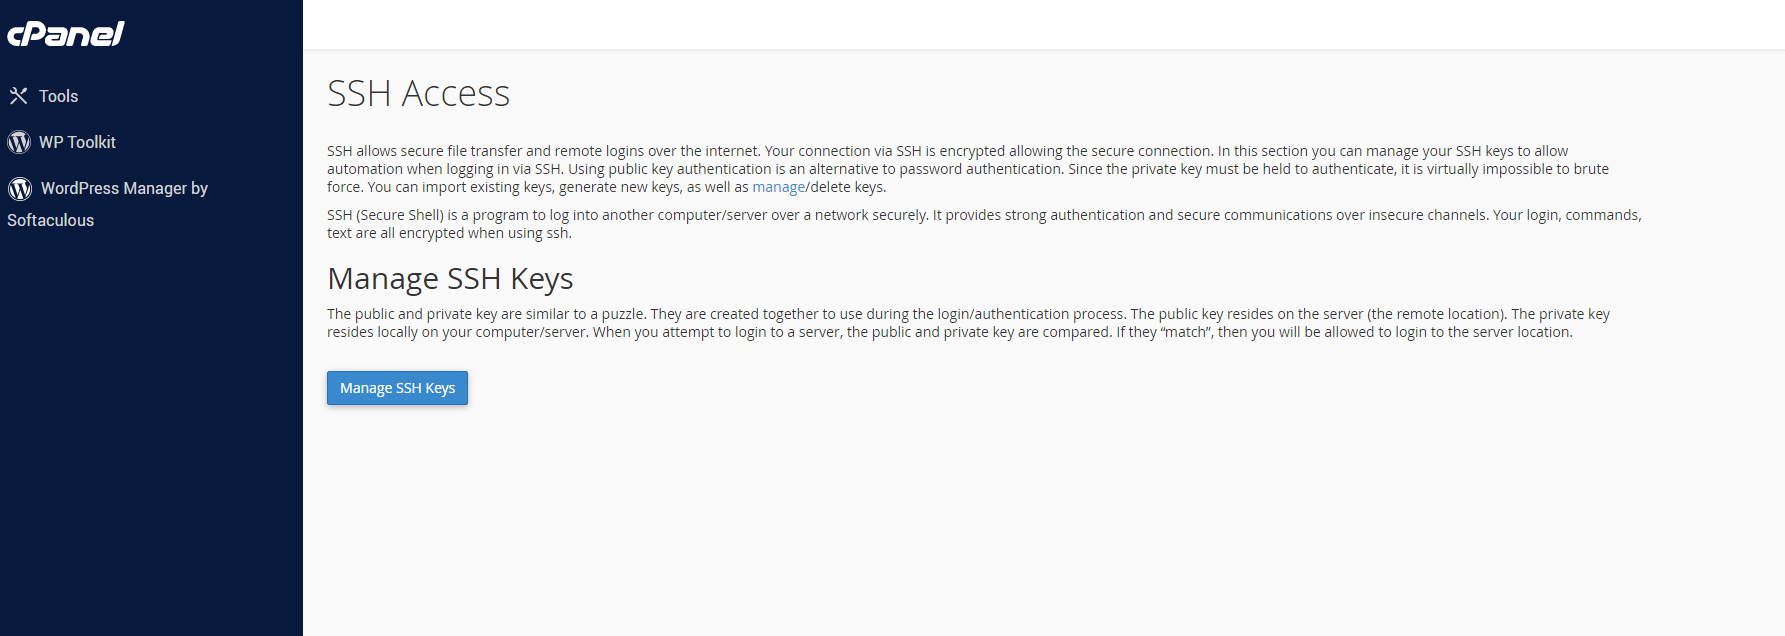
3. Next click manage SSH keys.
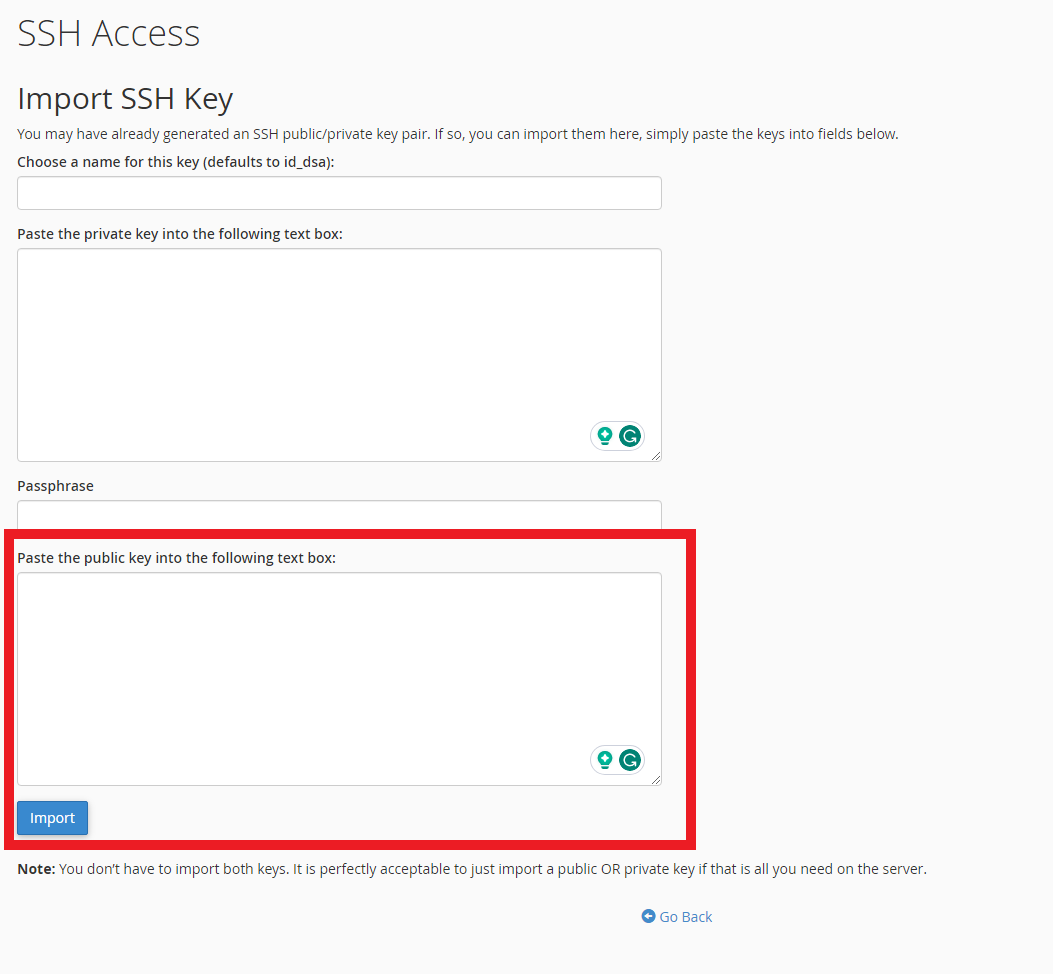
4. Click Import Key
5. If you wish you can name this key now.
6. Next up, from the import key page, paste in your Public key from PuTTYgen or from the id_rsa.pub file created in your Unix-based system. Ensure to leave the remaining fields blank. Finish by clicking the import key.
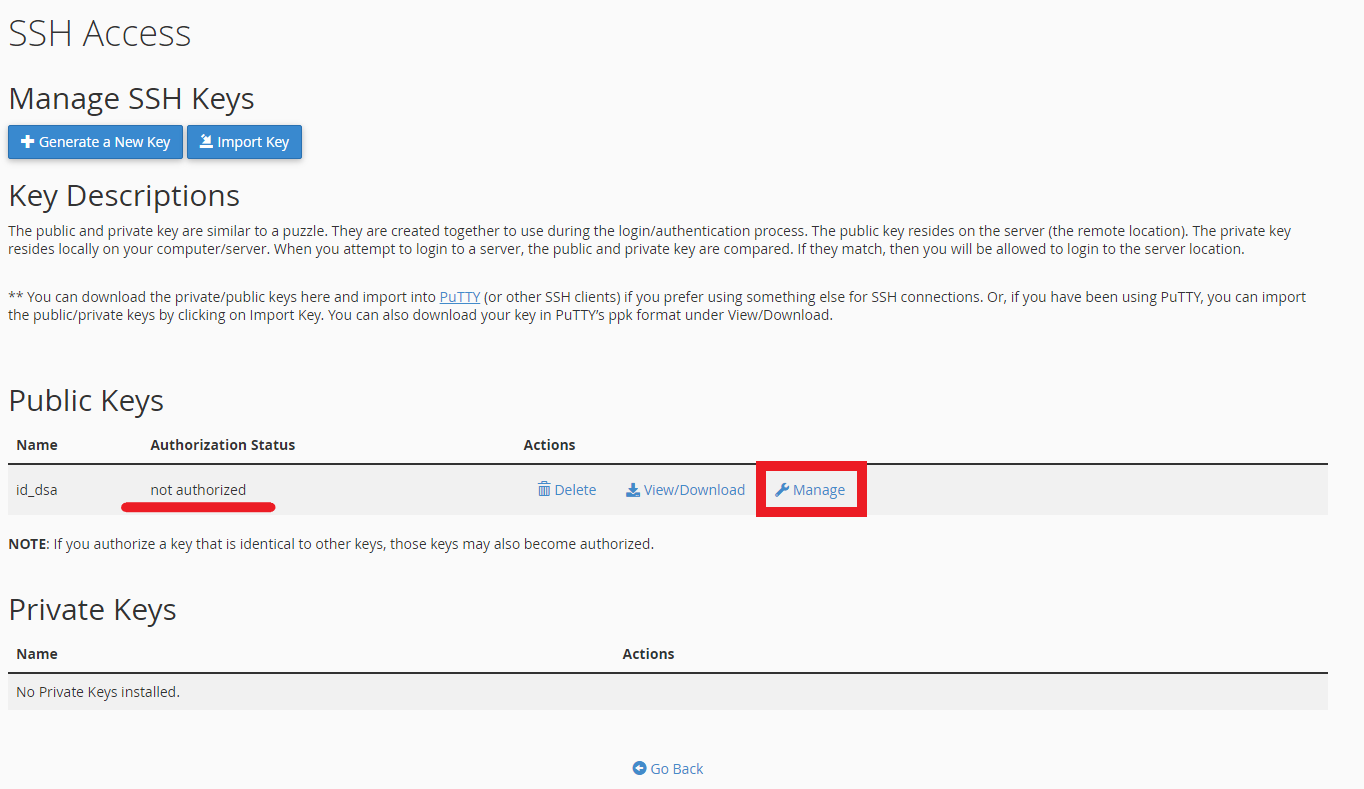
8. The public key will now be visible in your SSH access area. Click Manage to authorise the key on the server.
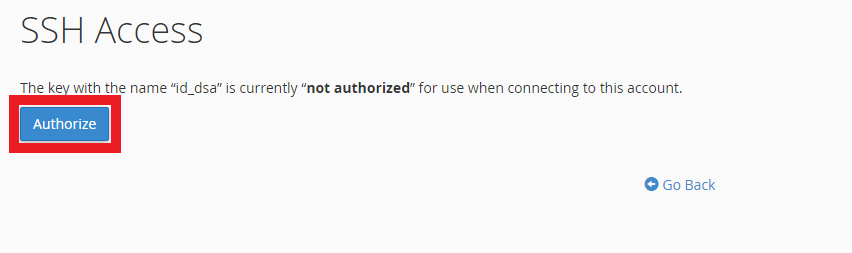
9.Finally, click Authorise to enable your SSH key.
Connecting on Unix-based systems
1. Open a terminal window.
2. Type the following command.
ssh -p 9284 yourusername@sharedserverhostname3. You will now be connected over SSH.
Connecting on Microsoft Windows.
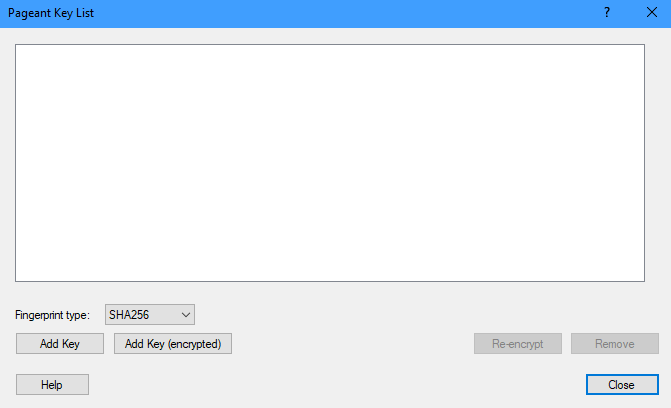
1.Open the Pageant tool.
2. Click Add key and select your privatekey.ppk file that you created earlier, you will be then prompted to enter your passphrase.
3. Now that pageant is running in the background, open PuTTY and type in your server’s hostname or IP address. Alternatively, you can also use your site’s domain name if it has already been propagated.
Please ensure that you use the correct PORT: 9284
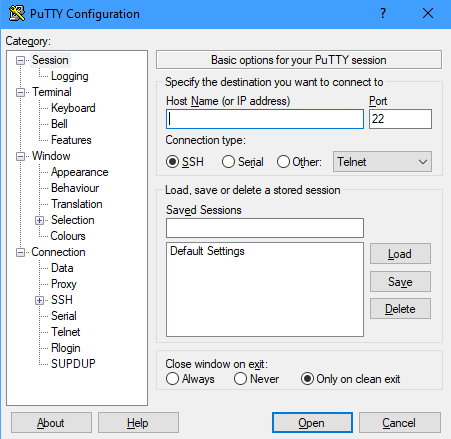
4. Click open and in the terminal window enter your account username when prompted.
5. If your SSH key has been added successfully you will automatically be logged in and ready to go.