How to manage NGINX Reverse Proxy
An Nginx reverse proxy forwards HTTP client requests to one or more backend servers. Instead of directing traffic straight to a single server, it distributes requests, balancing the load and preventing performance bottlenecks.
Unlike a standard web server, an Nginx reverse proxy optimises traffic flow, improving security and performance. On VPS or dedicated servers, Nginx can be manually configured by modifying the configuration file. This allows you to adjust proxy settings and headers like proxy_set_header X-Forwarded-For to maintain accurate client request information.
Managing Nginx Cache from your control panel.
At times, caching may need to be cleared or disabled. This is especially useful during website development when changes must appear immediately.
Managing in cPanel
This guide outlines how to do this from your cPanel control panel, so you must first log in to cPanel.
Enable Cache
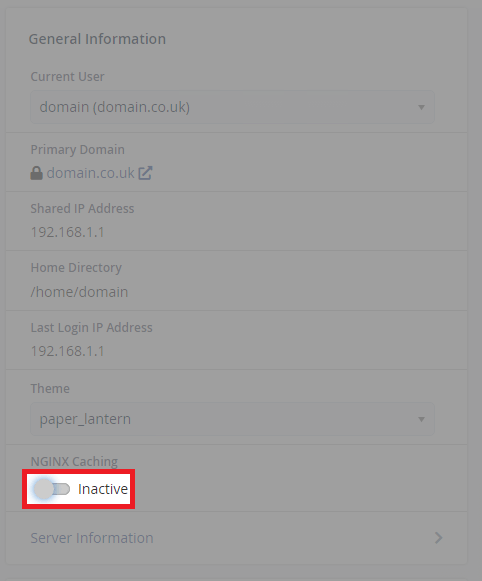
1. First off, from the main cPanel overview screen, navigate to the general information panel.
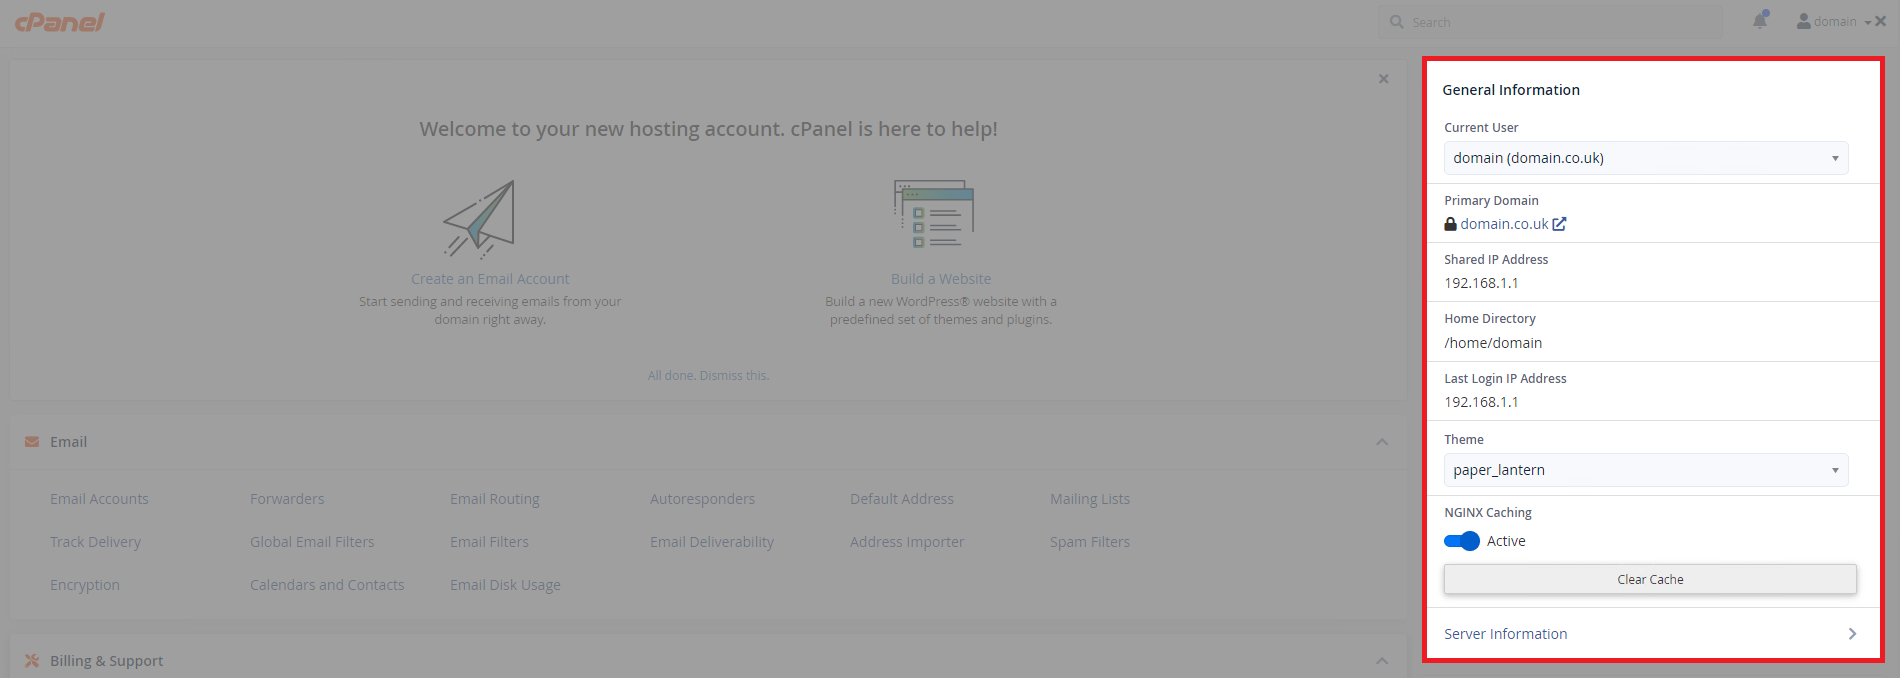
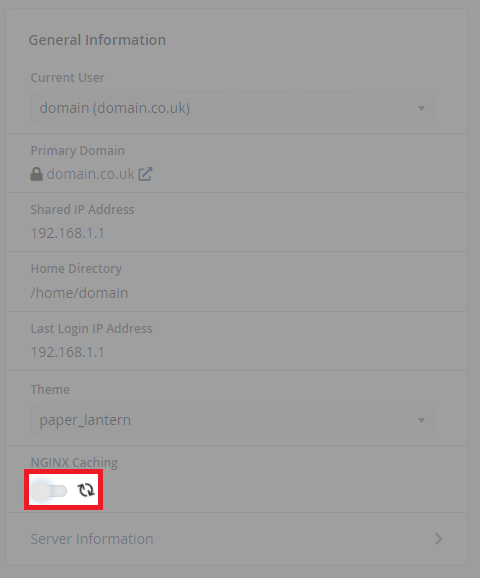
2. To enable the cache, click the highlighted radio button and a small spinning icon will appear.
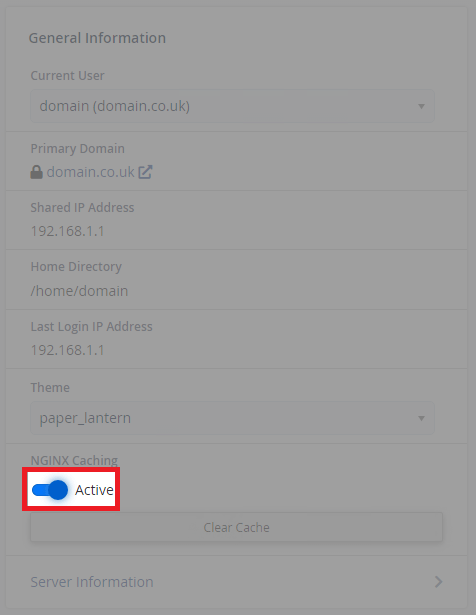
3. Caching is active when the button appears blue and “Active” appears.
Disable Cache
1. To disable caching, click the highlighted button below, the loading icon indicates it is working.

2. Caching is disabled when the button appears clear and the text “Inactive” appears. It will also remove the “Clear Cache” button.
Clear Cache
1. Clearing the cache is simple, just click the “Clear Cache” button as indicated below. If the cache clean-up is successful, a green banner will appear above.

Manage in Plesk
This guide outlines how to manage Nginx from Plesk control panel, so you must first access control panel.
Enable & Disable Cache
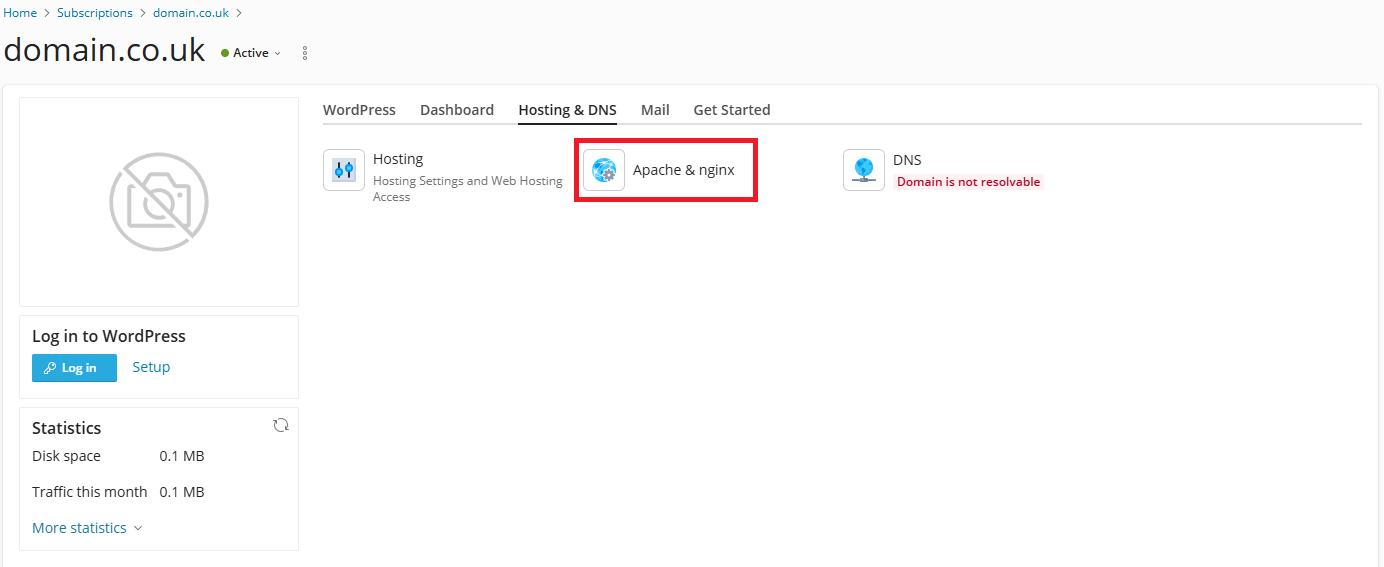
1. First off from your Plesk subscription click on “Hosting & DNS” and then click on “Apache & nginx” as shown below.
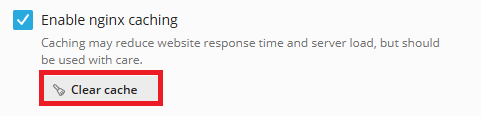
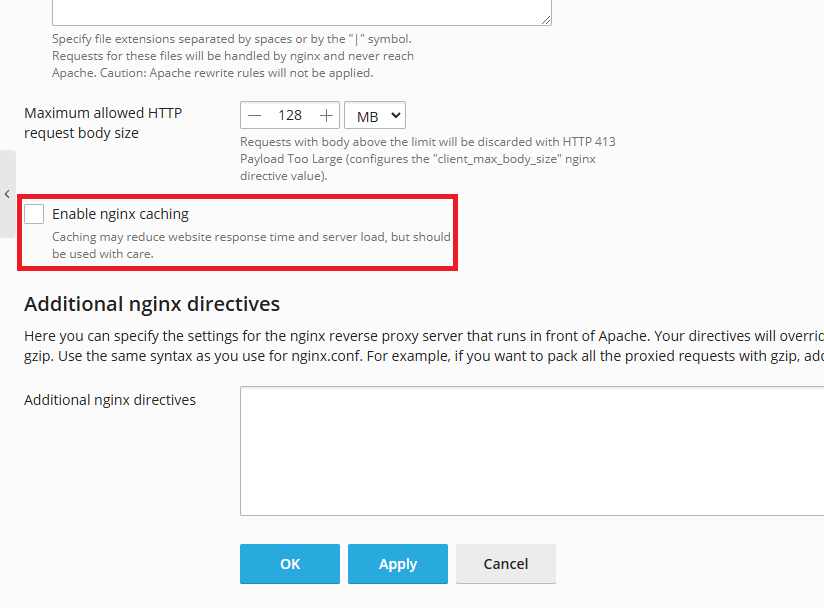
2. Moving on scroll down until you can see “Enable nginx caching” (highlighted below) if this is unticked as shown it means the cache is currently disabled for this domain in Plesk.
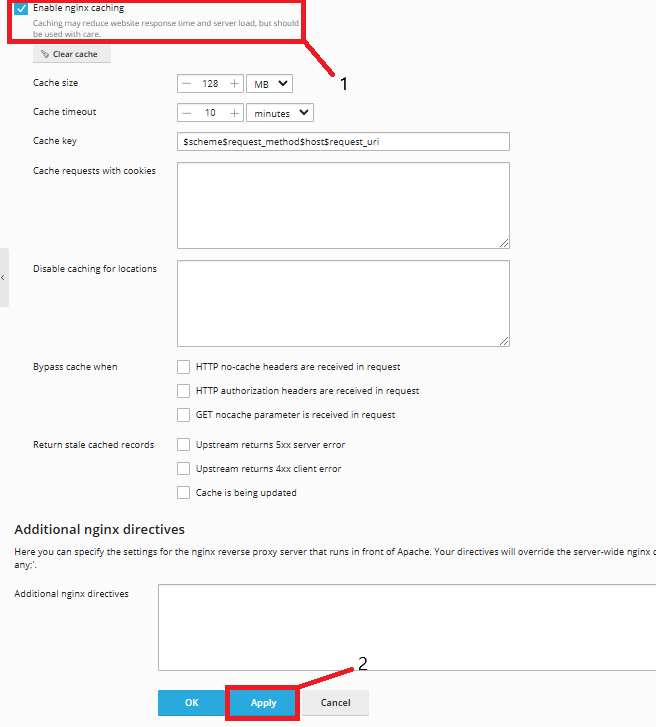
2. Finally, following on from above using the screenshot below tick the checkbox [1] to enable Nginx and then apply [2] to activate the cache for this domain. To disable repeat the process.
Clear Cache
1. Clearing the cache is straightforward following on from above under the Enable caching button a just click “Clear cache” as highlighted below.