
How to Edit the Hosts File in Windows, macOS, and Linux
The hosts file is a system configuration file that maps domain names to IP addresses. It acts as a local DNS resolver and can be used to manually resolve domains, block websites, or troubleshoot connection issues. This guide explains the purpose of the hosts file, why it is useful, and how to edit it on Windows, macOS, and Linux.
What is a Hosts File?
The hosts file functions like a local DNS server, allowing you to map domain names to specific IP addresses. It takes precedence over external DNS servers, enabling you to:
- Resolve domains quickly during website setup.
- Manually assign IP addresses to hostnames when DNS resolution fails.
- Block access to specific websites by mapping them to an invalid or local IP.
- Fix unreachable websites by overriding incorrect DNS records.
Changes to the hosts file apply only to the local machine and do not affect other devices.
Important Notes
- Editing the hosts file requires administrator or root privileges.
- After making changes, you may need to flush the DNS cache to apply them.
- Use
#to comment out lines without deleting them. - Be cautious when editing system files to avoid unintended issues.
How to Edit the Hosts File
Before proceeding, ensure you have the correct domain name and IP address you wish to modify.
Editing the Hosts File in Windows
- Open File Explorer and navigate to:
C:\Windows\System32\Drivers\etc - Right-click on the
hostsfile and select Open with. - Choose Notepad or another text editor.
- Add the IP address and domain name at the end of the file. Example:
185.185.185.185 domain.com - Save the file using Ctrl + S.
- To disable an entry without deleting it, prefix it with
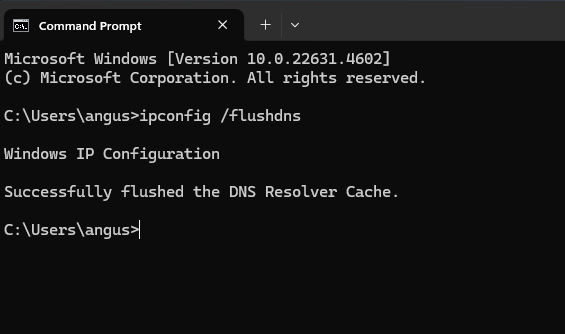
#:# 185.185.185.185 domain.com - Flush the DNS cache by running the following command in Command Prompt:
ipconfig /flushdns
Editing Hosts in macOS
You can edit the file using either Terminal or Finder.
Using Terminal:
- Open Spotlight Search (
Command + Space) and typeTerminal. - Run the following command to open the file in the Nano editor:
sudo nano /etc/hosts - Enter your admin password if prompted.
- Add the IP address and domain name at the bottom of the file.
- Save the changes by pressing Ctrl + X, then Y, and Enter.
- Flush the DNS cache by running:
sudo killall -HUP mDNSResponder
Using Finder:
- Open Finder and click Go → Go to Folder from the top menu.
- Enter:
/etc - Locate the
hostsfile and open it with a text editor. - Make your changes and save the file (
Command + S). - Flush the DNS cache as described above.
Editing the Hosts File in Linux
- Open Terminal (
Ctrl + Alt + T). - Use Nano to edit the file:
sudo nano /etc/hosts - Add the IP address and domain name at the bottom of the file.
- Save the changes by pressing Ctrl + X, then Y, and Enter.
- Restart the network service to apply changes:
sudo systemctl restart network-manager