
How to create a cPanel backup
Creating a full cPanel backup is essential for safeguarding your website data, emails, and configurations. Whether you’re planning a server migration, preparing for updates, or simply ensuring a solid disaster recovery plan, throughout this guide we’ll walk you through the exact process.
At the end, you’ll have a complete archive of your existing cPanel account ready to be downloaded to your local machine and then removed from the server.
Generating a Full account backup
1. Start by accessing your cPanel dashboard.
2. Once inside cPanel, scroll down to the Files section.
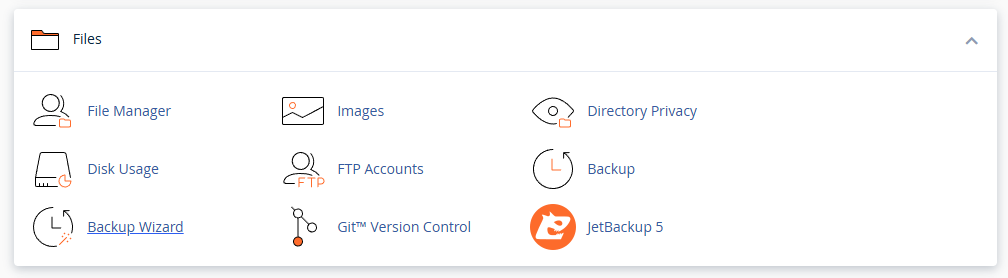
3. Click on Backup. This tool allows you to download partial or full backups of your account.
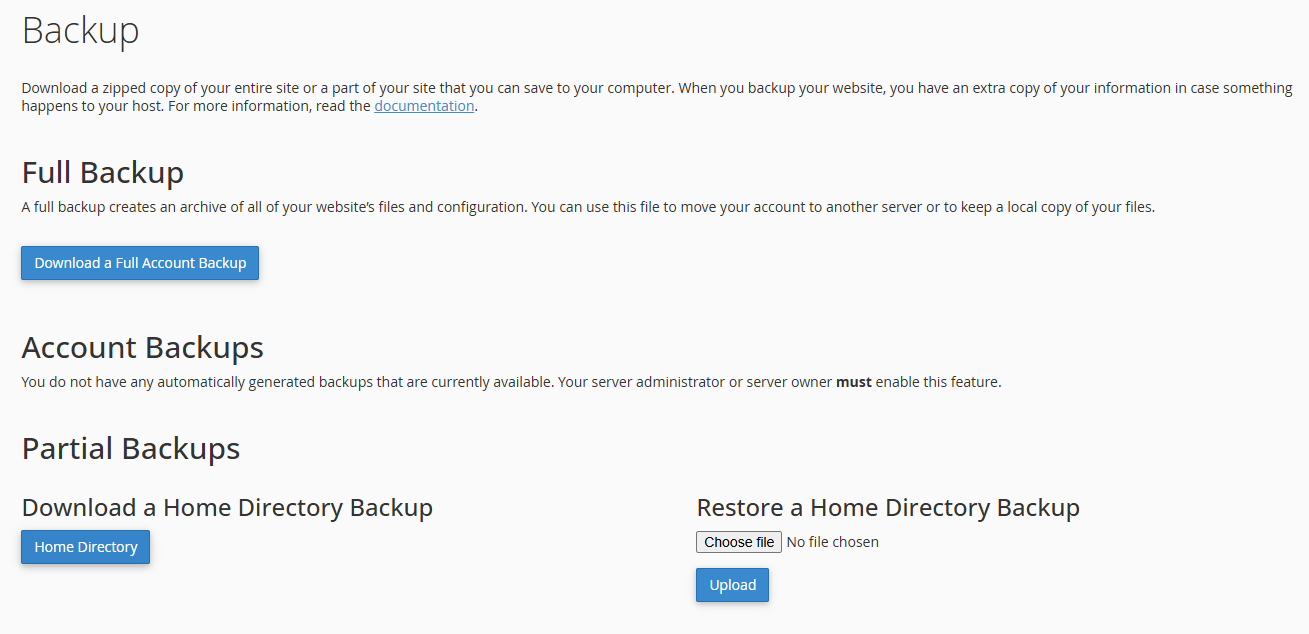
4. In the Full Backup section, click the Download a Full Account Backup button. This will open the backup generation screen.
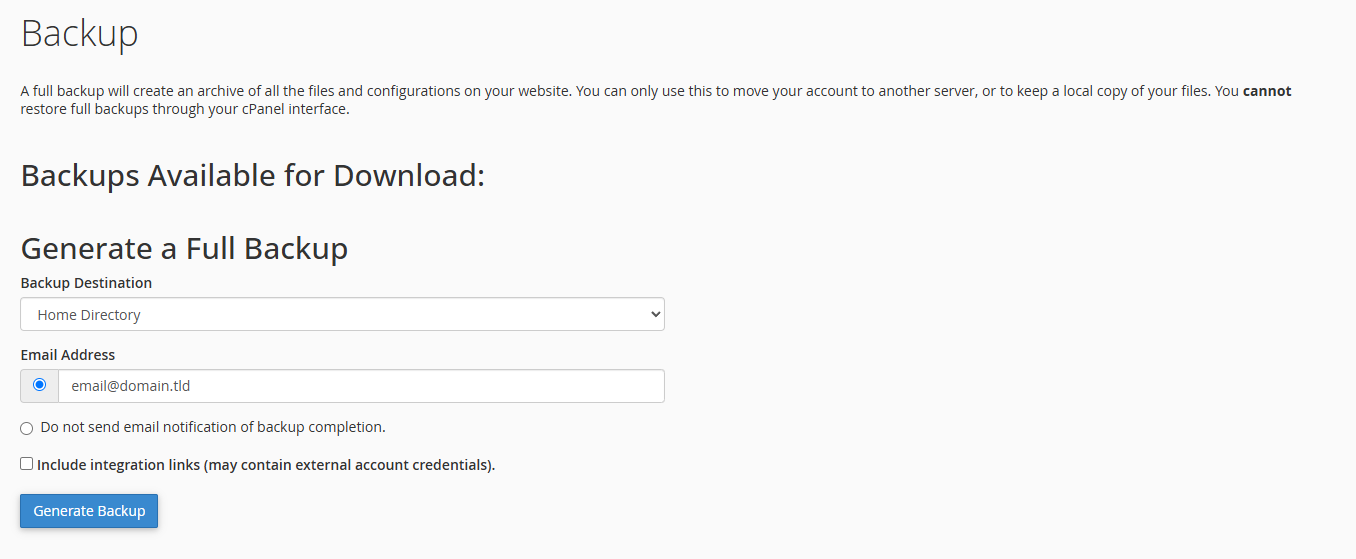
5. From the Backup Destination dropdown, select where you’d like the backup to be stored. For most, Home Directory is the default and preferred location. If you’re sending it to a remote destination, choose accordingly and provide the required credentials.
6. Provide your email address if you’d like to be notified when the backup is complete. Alternatively, select the option to not receive an email if you prefer to check manually.
7. Click Generate Backup to start the process. Depending on the size of your account, this could take a few minutes to several hours. Avoid making major changes to your site during this time to ensure a consistent backup.

8. Once completed, return to the Backup interface. Under “Backups Available for Download”, you’ll see the newly generated backup listed with its filename and date. Click the filename to download the file to your local device for safekeeping or transfer.
