
How to install WHMCS with Softaculous
WHMCS is an all-in-one client management, billing, and support platform which was designed specifically for web hosting providers but can be used for reseller hosting platforms too. In this guide learn how to install WHMCS with the Softaculous app installer, which makes the process fast and straightforward. You’ll need an active license to be able to use the software you can buy a WHMCS license here.
Install WHMCS from cPanel with Softaculous
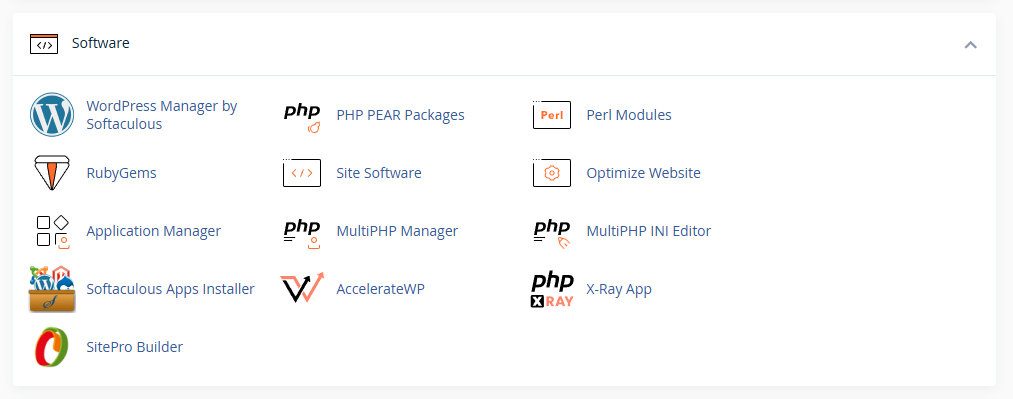
1. Login to your cPanel control panel area and navigate to the Software section. From here click on Softaculous Apps Installer.
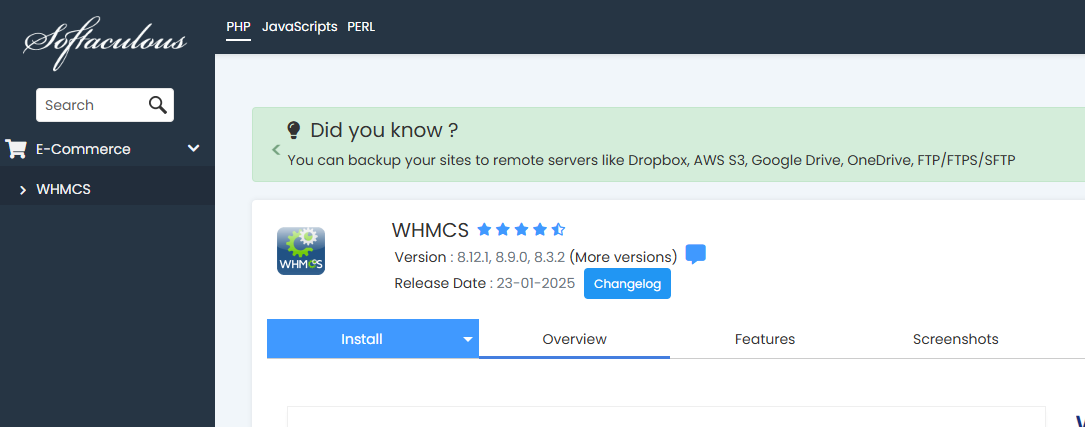
2. Moving on from Softaculous either type WHMCS into the search bar or scroll down until you see it under the E-commerce tab. With WHMCS shown click it to enter the overview page.
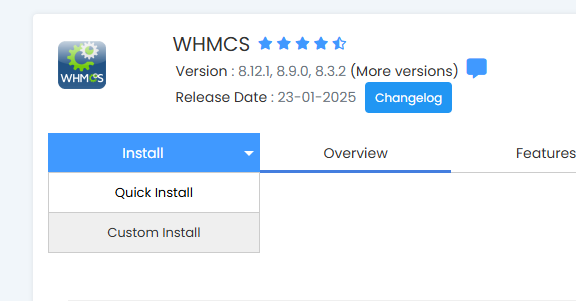
3. Afterwards, click Install to expand the installation options – we’ll be using quick install for this guide.
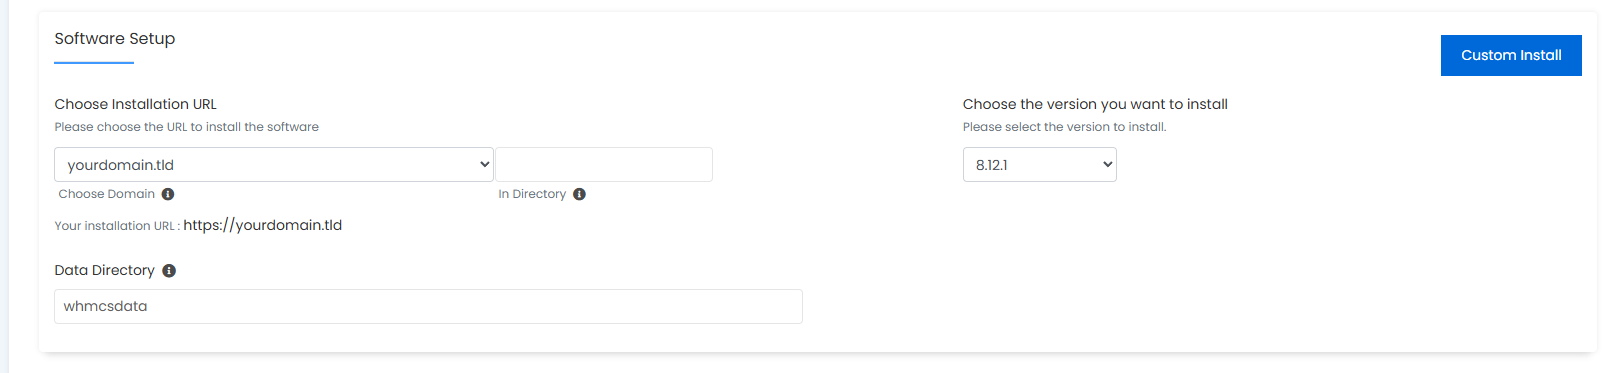
4. From here you can set the WHMCS version, your installation URL and specify a directory to install WHMCS into, for this quick install we’ll be leaving the default settings.
5. Moving on, under the site settings tab enter your WHMCS license key. Immediately after, set up your admin account credentials – these will be used as the main admin login, so make sure you use a strong password.
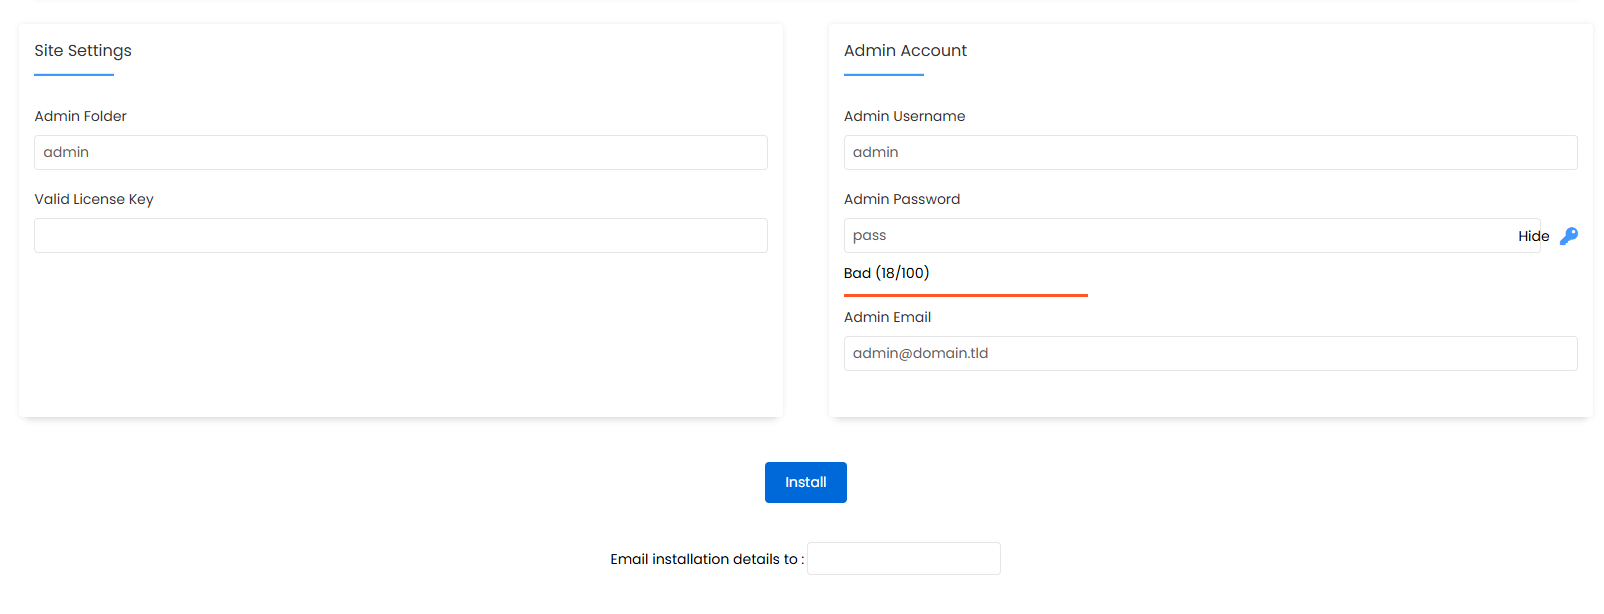
6. Finally, you can start the install process by clicking Install – optionally you can add an email to receive the installation details.