
How to migrate a non-cPanel website to cPanel
Migrating your website manually to your reseller account may seem daunting, but following these steps will ensure a smooth transition. While cPanel based backups aren’t an option for non-cPanel hosts, you can still manually transfer your website files, databases, and email accounts efficiently. This guide will walk you through the necessary steps to complete the migration successfully.
Manual Migration
To start the manual migration process you’ll first need to set up the destination account so its ready. In this guide you need to create a new database, use FTP and import SQL over SSH.
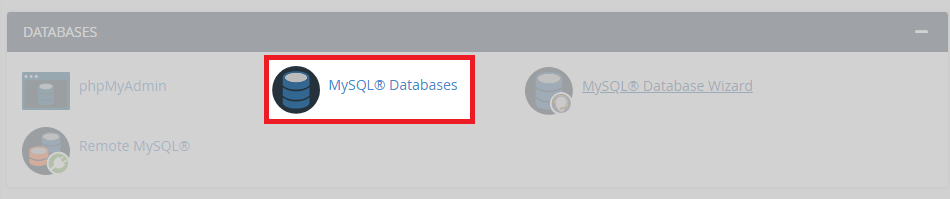
1. Begin by creating a new database. This be destination for your existing website’s database during the migration process. Following on from the linked guide log into your clients cPanel account and navigate to the database section, from there you can create new database. You might want to duplicate the details of the existing account so you don’t have to reconfigure the connection.
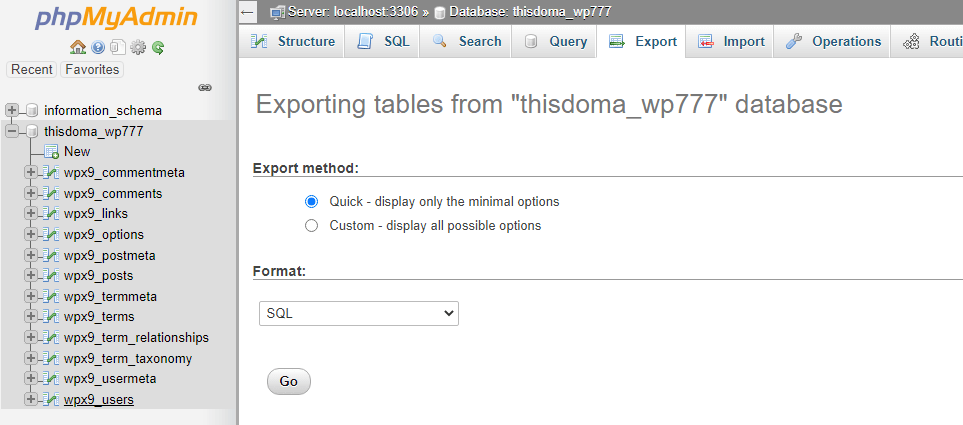
2. Next, export the database from your old hosting account and import it into the new database you created. Depending on the size of your existing database you might be able to export and import this with phpMyAdmin.
3. Afterwards, it’s time to download your website files and double check any configuration. You can do this with the file manager in cPanel, via FTP (recommended) or even the command line using scp or rsync.
4. Moving on, you’ll need to then upload these files to your new account ensuring that they go to the appropriates folders usually public_html but is dependant on the document root location.
5. So far we have migrated over the database and files for your site. If you have been using email at your previous host you’ll need to create email accounts that match and then migrate in your email account data.
6. Now before moving any DNS over you’ll probably want to try and test that everything is working, we can do this by editing the hosts file on your local machine or by creating a temporary domain.
7. Afterwards, once you have checked over your website ensuring everything is working as expected its time to move your DNS over. Usually this is as easy as apply our default nameservers unless you have made customisations to your existing DNS zone.
8. Finally, with those DNS changes made you will have to wait awhile (up to 48 hours) for DNS propagation to take place, you can check the status with an external tool.
