How to install CloudPanel
CloudPanel is free control panel software that can be installed on your virtual private server. It provides more flexibility and control over a standard VPS enabling easy creation of various different sites and apps including:
- Static Websites (HTML, CSS, JS sites)
- PHP based sites (ex. WordPress, Laravel)
- Node.js
- Python
- NGINX reverse proxies
There are some important pre-requisites to consider before choosing to install CloudPanel on your VPS. To start we have guides available that will help help use and secure CloudPanel but using it comes at your own risk, so you need to be confident with Linux System Administration.
You’ll need to know how to SSH to your server, install and manage basic applications (UFW). Do not install MySQL or MariaDB as the install script will do this for you.
You must choose either a Debian or Ubuntu based OS during VPS configuration with a minimum hardware requirement of:
- 1 vCPU.
- 2 GB RAM.
- 10 GB Disk.
These are the absolute minimums and you may find you need more for the panel to work effectively.
Installing CloudPanel On Debian 12
1. First off start by logging into your VPS over the command line.
2. Use the following command to check, install updates and install required packages (including mariadb.
apt update && apt full-upgrade && apt -y install curl wget sudo ufw3. In a browser window check if apache in running on your VPS, if it is we will need to disable it in preparation for NGINX.
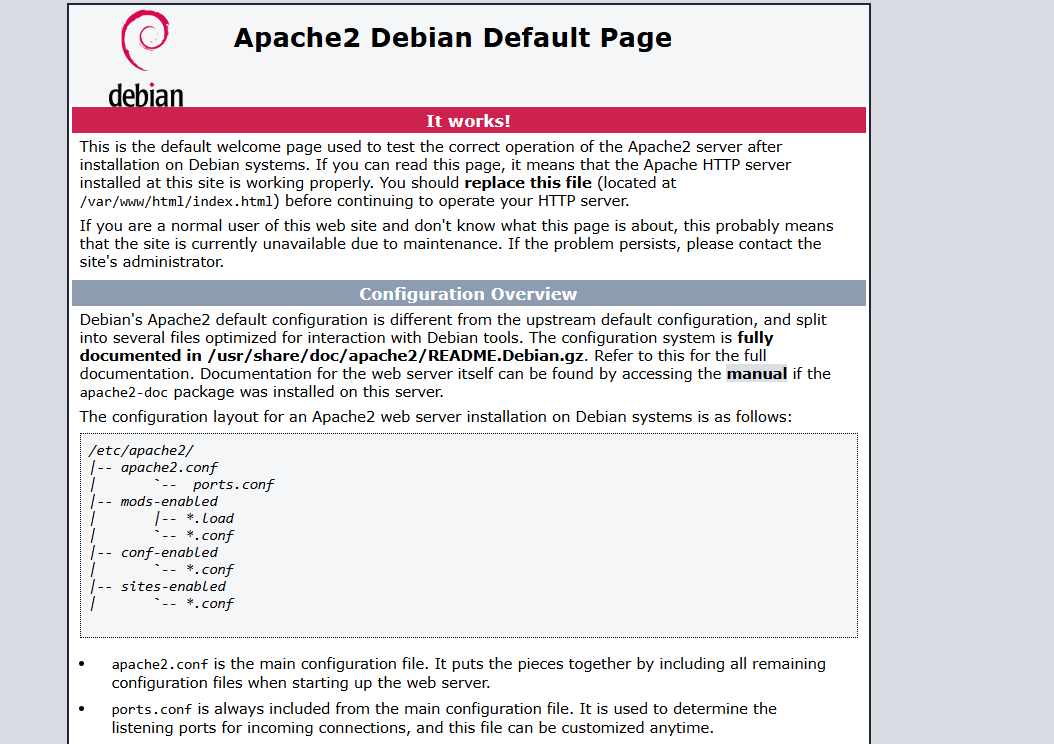
systemctl disable apache2 && sudo systemctl stop apache24. From here run the installation script provided to install CloudPanel.
curl -sS https://installer.cloudpanel.io/ce/v2/install.sh -o install.sh; \
echo "a3ba69a8102345127b4ae0e28cfe89daca675cbc63cd39225133cdd2fa02ad36 install.sh" | \
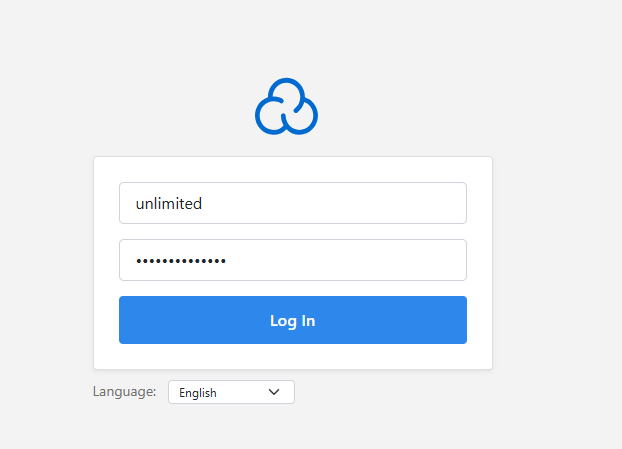
sha256sum -c && sudo DB_ENGINE=MARIADB_10.11 bash install.sh5. Now start by creating your admin user in CloudPanel.

6. After successfully installing and setting up CloudPanel, sign in with your newly created Admin user. From here you can continue configuring additional features such as CloudFlare, specific firewall rules or just get straight into it by adding a site.