Add reCAPTCHA to WordPress Login Page
Quick and hassle-free communication between website owners and visitors is vital for any organisation. Web contact forms, such as Contact Form 7, play a key role in enabling this interaction. However, maintaining this functionality while ensuring the security of your WordPress website is crucial for combating spam and safeguarding your site. Contact forms facilitate effective communication but often attract bots and exploits that enable spammers to misuse your system. Integrating a CAPTCHA that distinguishes between bots and humans helps prevent abuse and improves the overall effectiveness of your forms. The same is true for login pages which without a CAPTCHA in place can fall victim to brute force style attacks.
How to set up a reCAPTCHA account in Google
Before you can enable reCAPTCHA on your sites you first need to set up an account in Google. This will allow you to link reCAPTCHA from your site to Google via verification keys.
1. First using the following link open the Google reCAPTCHA page in your browser of choice (for this example we will be using Chrome).
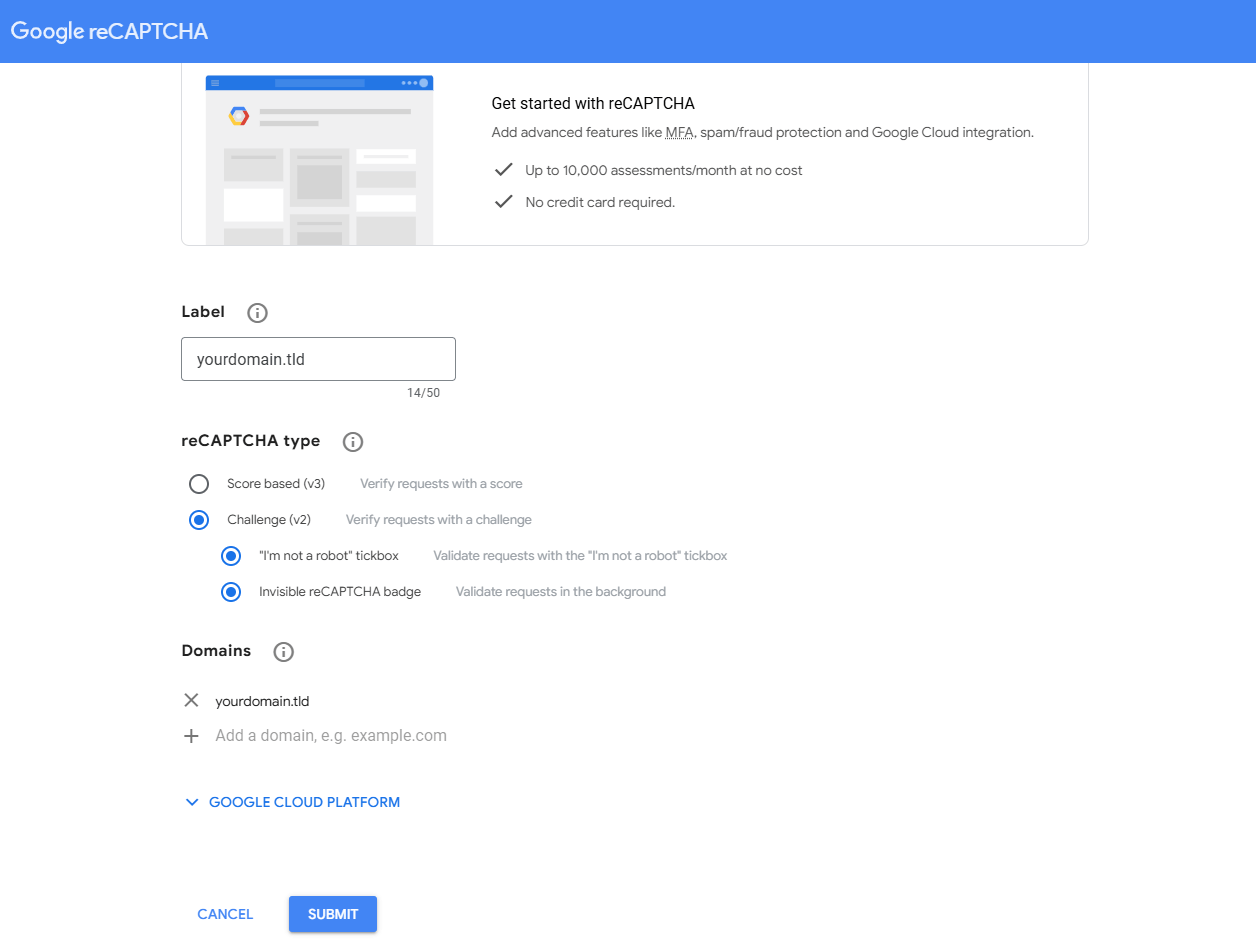
2. From here you start configuring your CAPTCHA in this guide we are going to use type 2 Challenge (v2) with both the tick box and invisible badge. You will also need to enter the domains you want to use reCAPTCHA on, you can enter multiple here enabling you to plan setup on future sites. Click “Submit” when you are happy with the configuration.
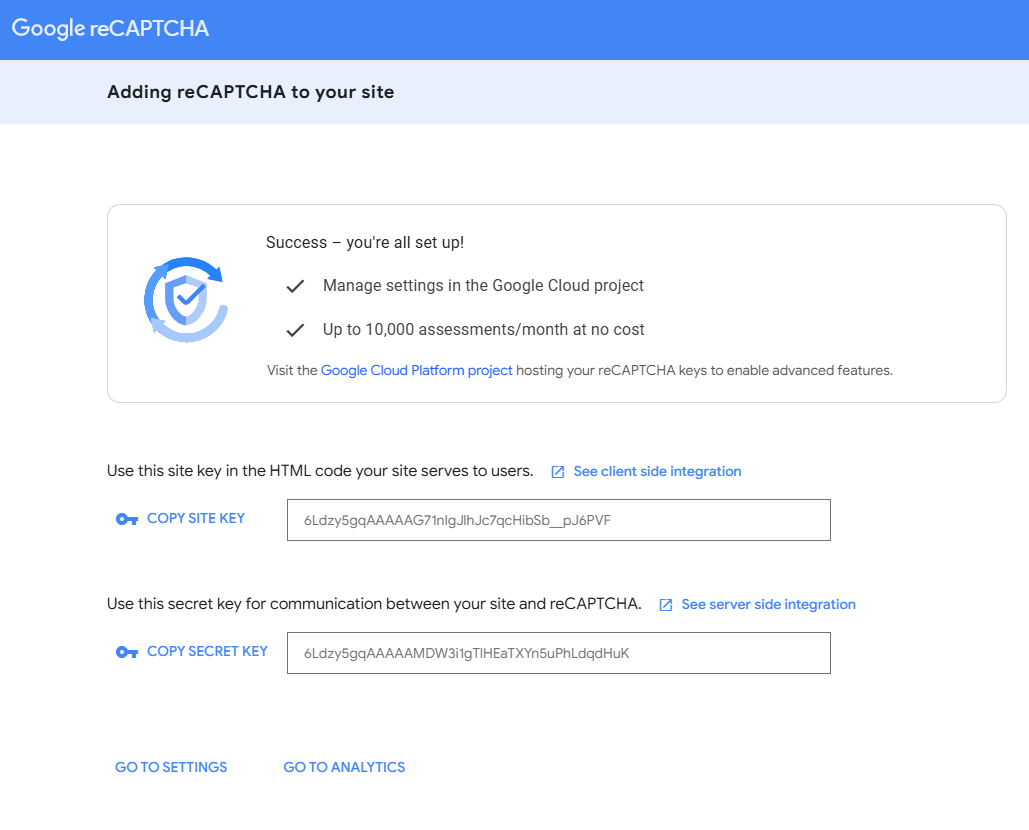
3. Finally, you will be prompted with a site (HTML) and secret key which are used together during the set up process.
Adding reCAPTCHA to WordPress login page.
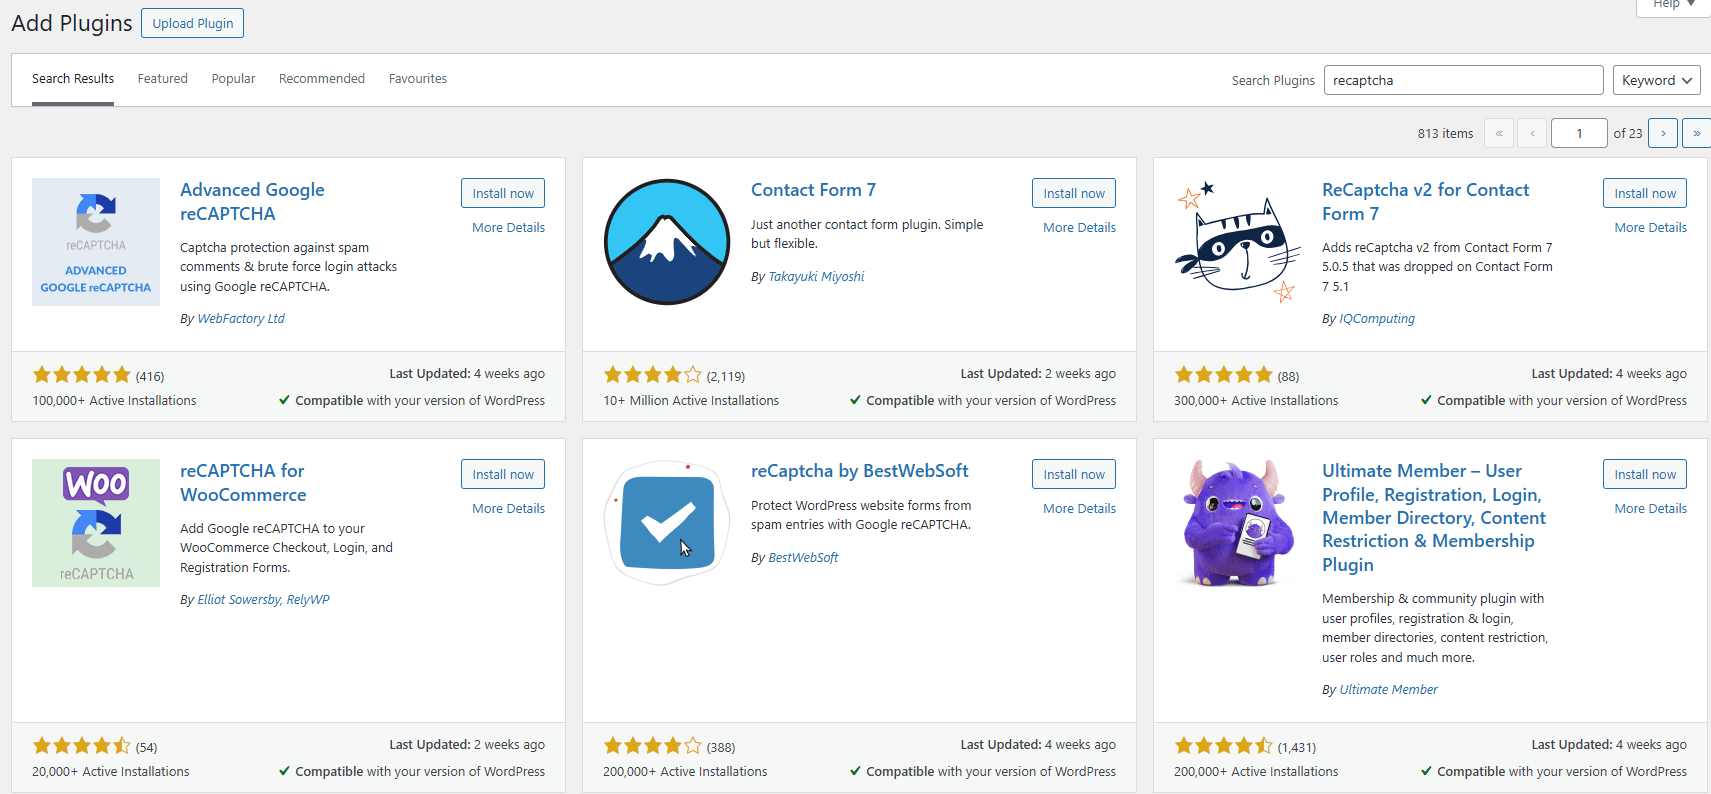
1. Start by logging into the WordPress admin area and heading to the plugins section, from here using the search bar labelled “Search Plugins” search “Advanced Google reCAPTCHA” (This is optional, you can choose another plugin if you prefer). Click “Install Now” & “Activate” to enable this plugin on your WordPress site.
2. Afterwards from the WP Admin area click on “Settings” revealing Advanced Google reCAPTCHA, click this to begin setup.
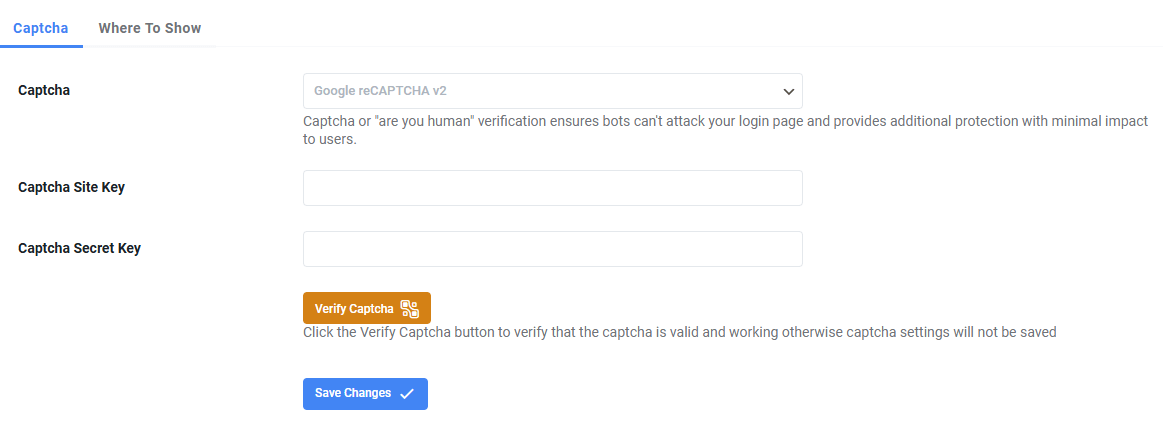
3. From the plugins configuration settings click on the captcha tab and select “Google reCAPTCHA v2“.
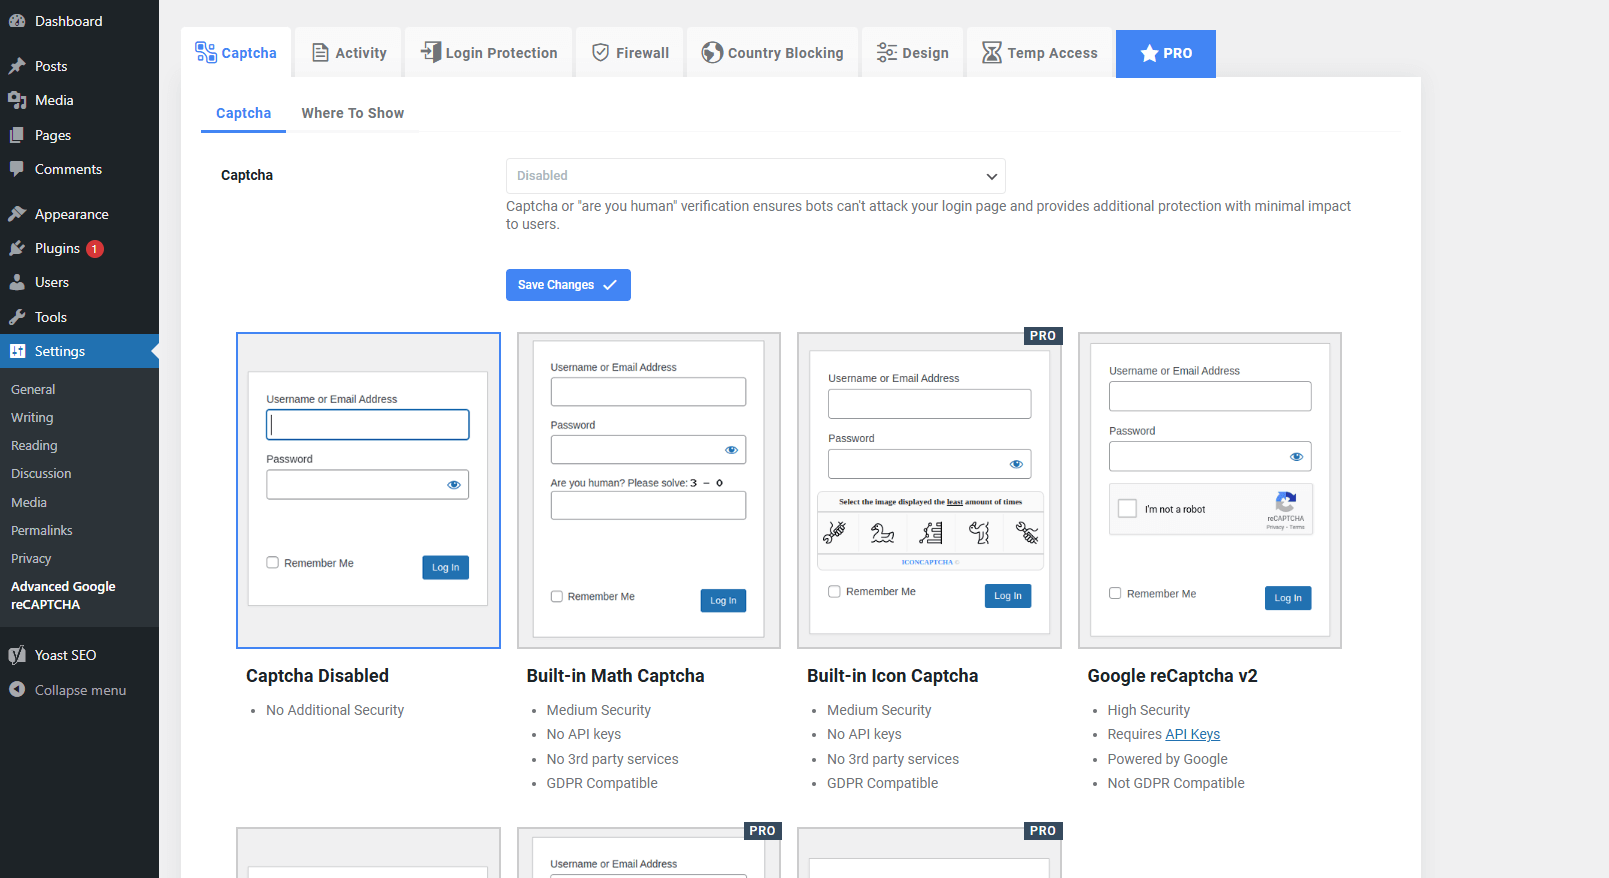
4. Finally to link the plugin with your Google account enter the site and secret key from the earlier set up guide. Verify the link with the “Verify CAPTCHA” button and if successfully connected click “Save Changes”. Your login page should now be secured with CAPTCHA.