
How to create and use a phpinfo file
If you need to check your website’s PHP settings, the phpinfo function can help, it provides detailed information about your server’s current PHP configuration and, is perfect for checking if your server meets the requirements for specific software.
In this guide we will walk through creating a phpinfo file to check your sites PHP settings. Both are easy and widely used by developers and server admins.
Creating a phpinfo file manually
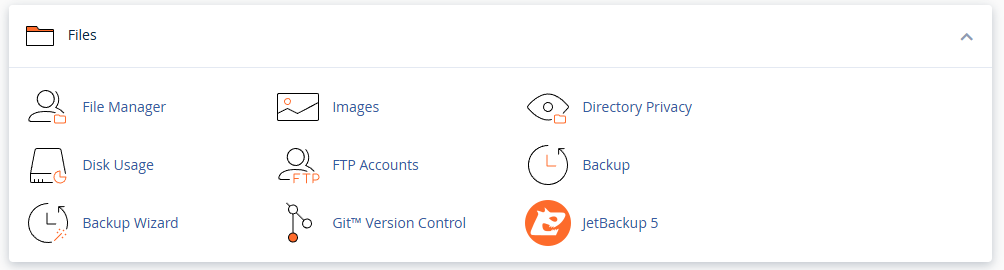
1. Log in to your cPanel control panel and open File Manager. Go to the public_html directory or the root of your website (depending on how you set it up).
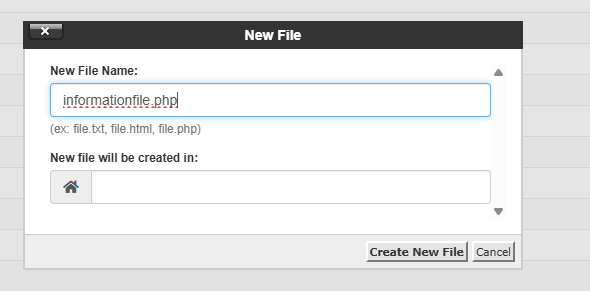
2. Click New File and name it informationfile.php.
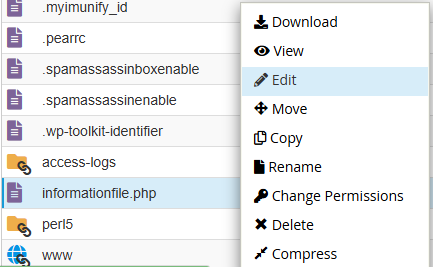
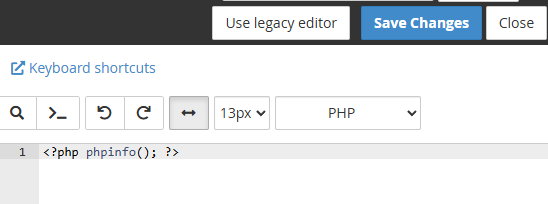
3. Right-click the informationfile.php file and click Edit.
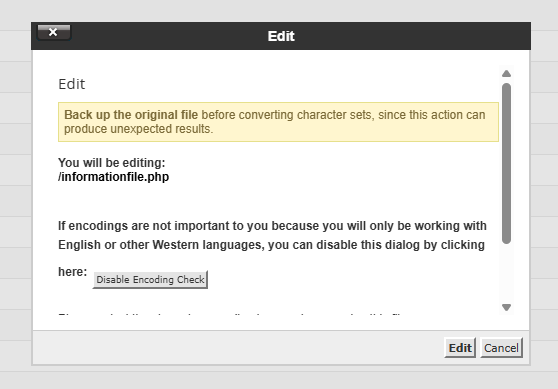
4. Add the following code to the file: <?php phpinfo(); ?> then save the file.
5. If you prefer to use an FTP client like FileZilla, create the informationfile.php file on your computer, add the code above, and upload it to your server’s public_html directory.
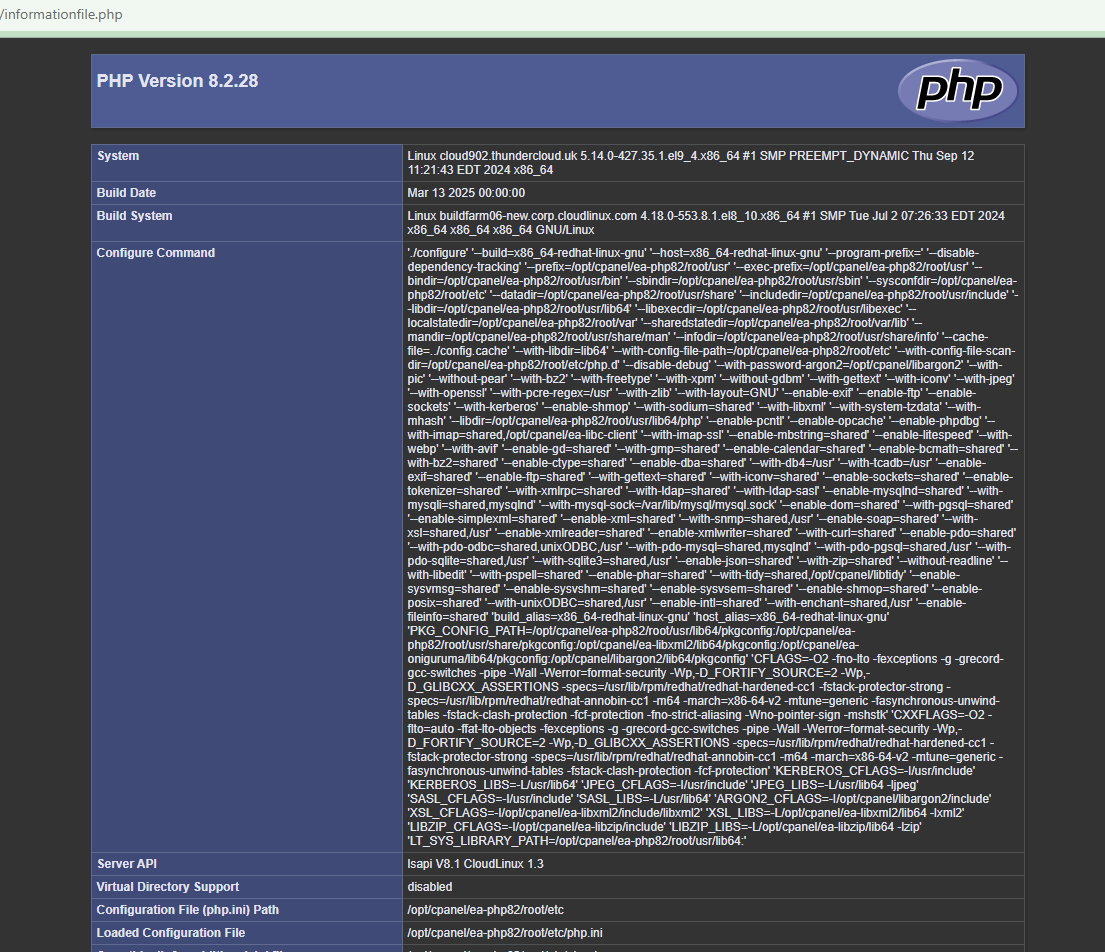
6. Once the file is created, open your browser and go to: https://yourdomain.tld/informationfile.php. You’ll see all the PHP info, including:
- PHP version.
- Server info.
- Loaded extensions and their settings.
- Environment variables.
Security Considerations
Use .htaccess rules to restrict access to the informationfile.php file to specific IP addresses. You can do that by using the files command with the .htaccess file as shown below.
<Files "phpinfo.php">
    Order Deny,Allow
    Deny from all
    Allow from 192.168.1.1
</Files>
Once you’ve checked the PHP info, rename the file (e.g., informationfile.php_disabled) or delete it.
Never leave the informationfile.php file publicly accessible for too long.