
How to export a DNS zone from cPanel
In this guide you will learn how to export a DNS zone from cPanel using the backup tool and then locate the zone file in the dnszones directory. Exporting your DNS zone allows you to archive records, audit configuration, or migrate to another DNS service with total continuity.
Export DNS zone with cPanel Backup
You can use the cPanel backup tool to export an entire backup of your account including zone data.
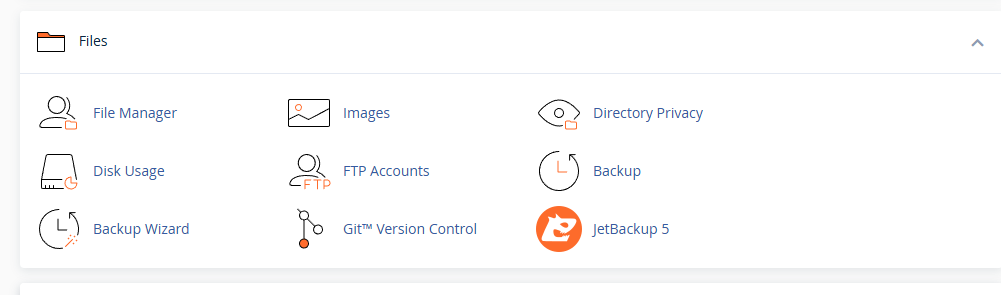
1. Log in to your cPanel account. From here navigate to the files section containing the backup tool. Click Backup to continue.
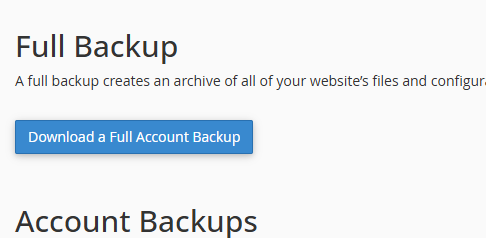
2. Now from the backup tool click Download a Full Account Backup under the full backup header. This will start creating a backup of the entire account including any and all DNS zones.
3. After the full account backup tool has finished creating your backup it will display in the list “Backups Available for Download” as shown in the screenshot below, click on the latest backup (the one you just created). This will download the backup file to your device.
4. Next using the backup file extract it to a location of your choosing, the open the extracted contents and navigate to the dnszones folder.

5. The zone file/s will be visible and labelled for the domains they correspond to and with a .db file extension, the following screenshot shows the zone file for domain.tld.

Export a Zone with JetBackup 5
It is possible to export a zone using the JetBackup 5 tool in your cPanel account, this requires that the account has existed longer enough for a snapshot of your account to be taken. Compare plans to find the snapshot period for your account.
1. Log in to your cPanel account and navigate down to the files section. From here click on the JetBackup 5 tool as shown.
2. From the JetBackup 5 tool, enter the Restore & Download tool as shown and then click on the Domains tab. This will show a list of all the domains in Jetbackup for your account.
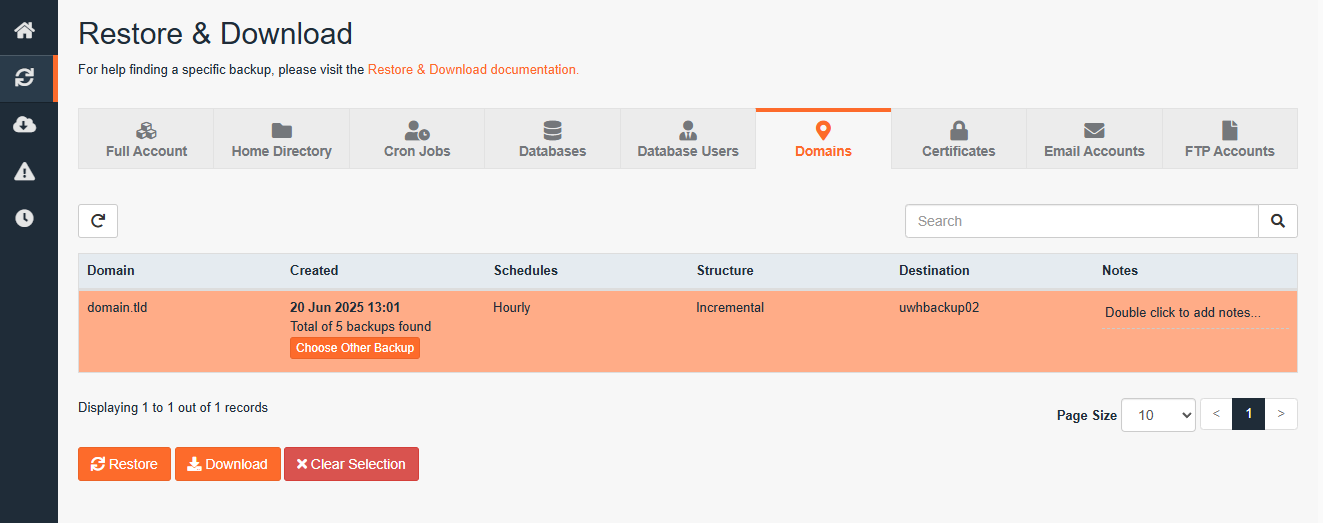
3. From here click Download to download the zone file for that domain, a modal or popout window will appear confirming what files you want to download. Click Download again to proceed.

4. That will run the backup process in the JetBackup 5 tool, enter the downloads menu and click Download for the your newly created download, this will download the file to your device.
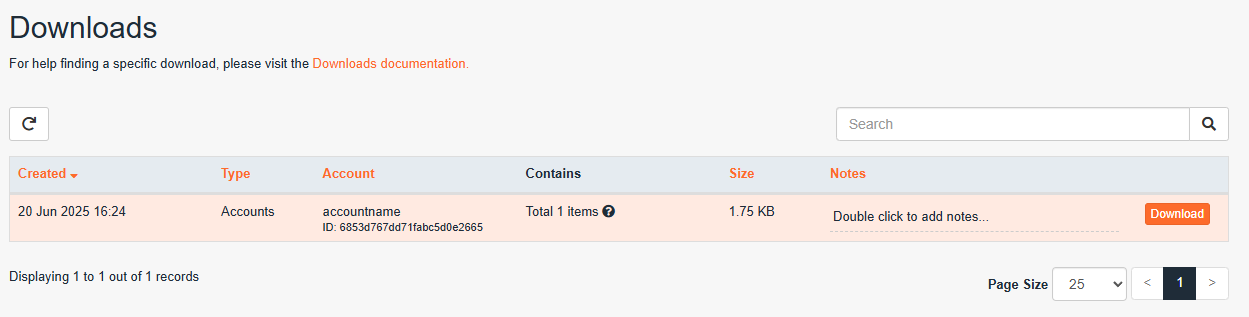
5. With that downloaded you will now have exported a full zone file for that account as shown.

Congratulations, you have now exported your domains zone file which you can keep for archival purposes or import to Cloudflare.