
How to migrate using a cPanel backup
Migrating an existing cPanel account to your reseller account is a relatively straightforward and reliable method of transferring over your site manually, including its files, databases, and emails. By using a full cPanel backup, you avoid manual account transfers and maintain your site presence throughout the move.
If you are migrating to us from cPanel for the first time you can use our migration tool. Using this tool you can move the first 25 accounts or 50GB (whichever comes first).
Migrate your packaged backup
In this guide we’ll walk through the full cPanel to cPanel migration process from evaluation to switchover.
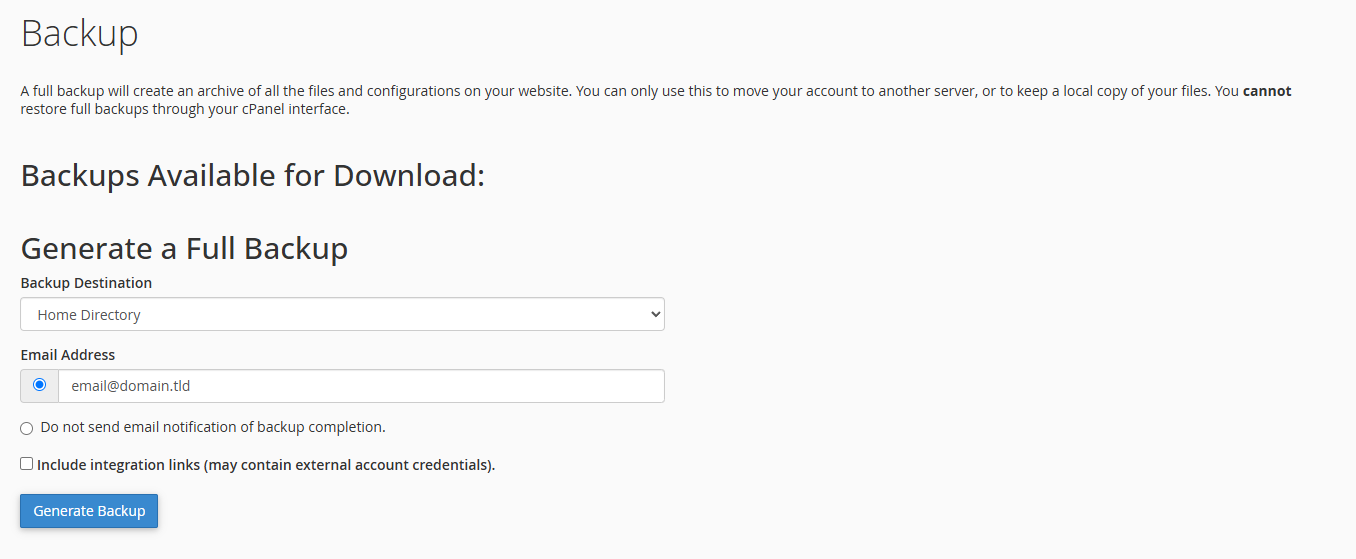
1. Start by generating a full cPanel backup, this provides a neatly packaged (.tar.gz) backup file that can be either downloaded locally or sent directly to the target system with SCP (if you have the correct permissions).
2. Moving on, assuming you haven’t been able to use SCP (if you have move to the next step) you’ll need to manually upload your backup file to cPanel via FTP or the file manager. We would normally recommend using FTP as handles bigger files better.
3. Afterwards, with your cPanel account backup in the root directory of your account, you’ll need to get in touch with the support team to help restore that account unless you have root access. You can use the example message below to help move the process along quicker.
I’ve uploaded a full cPanel backup to the home directory of my hosting account. Could you please restore it for me?4. Afterwards, once the support team have confirmed transfer ensure you check and test the site. Makin certain everything is where is should be. If you haven’t migrated over DNS yet you can create a temporary domain to check over site content and features.
5. Finally, if everything loads correctly, it’s time to point your DNS records at the server to complete the migration is complete.