Malware Removal for WordPresss
Malware has been around for a while. And, over time has come increased complexity. In its spread and, the obfuscation methods in place to prevent detection. Protecting against and tackling malware is a critical issue for individuals and businesses alike. Especially those with web hosting that relies on WordPress which dominates the CMS market with an over 60% market share according to W3Techs.
Because of its popularity, WordPress also finds itself under the malware microscope quite often. Sucuri reports in its 2022 Threat Report that WordPress accounts for over 96% of all infected CMS sites. With hackers & bad actors alike attempting to discover vulnerabilities in both its core programming and, in the myriad of plugins & themes available to its users.
How does malware affect WordPress?
- WordPress websites account for over 43% of all websites on the Internet. Due to this, it is a major target for hackers who try and exploit any weaknesses in the software. Once an attacker has found a vulnerability in a WordPress website their first step is usually to install an ‘uploader’ file providing them a convenient means to upload more malware or modify existing files and hide malware ‘payloads’ in those.
- Attackers can exploit this access further, installing ‘malware toolkits’ which in turn enable adding email accounts used for SPAM messaging, adding malicious scheduled tasks to the control panel, or scanning other sites for vulnerabilities to exploit.
- Normally malware finds its way onto WordPress through vulnerabilities in plugin/s or theme/s. This is why removing suspicious files is not a catch-all solution for WordPress malware removal. This is because the underlying vulnerability remains allowing the reinfection of malware and the issues that brings. Follow on with our removal guide below to help keep malware at bay.
How can I remove malware from my WordPress website?
Throughout this guide we will go over best practices for good WordPress security and preventing infection in the first place.
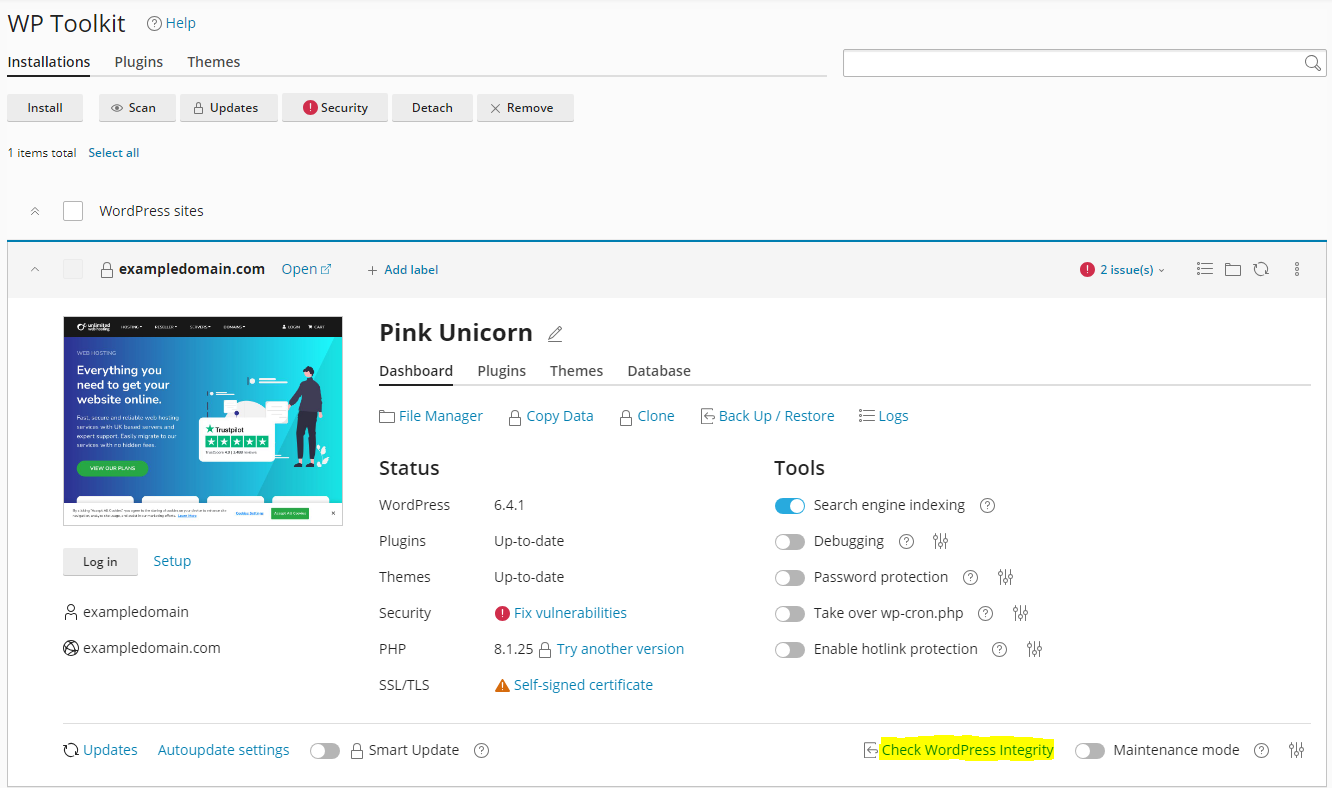
Use the WordPress Toolkit to check WordPress integrity
1. Navigate to WordPress Toolkit
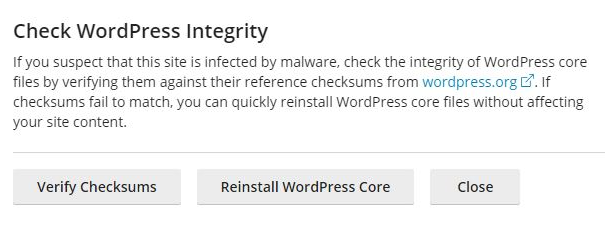
2. Click Check WordPress Integrity
3. Now ‘verify checksums’ which checks the integrity of core WordPress files.
4. If this check fails, you may be prompted to reinstall the WordPress core files, do this.
Scan your WordPress website with ImunifyAV
1. To do this go to ImunifyAV in your control panel and click ‘Start scanning’. This works by scanning files on your account and removing malicious content.
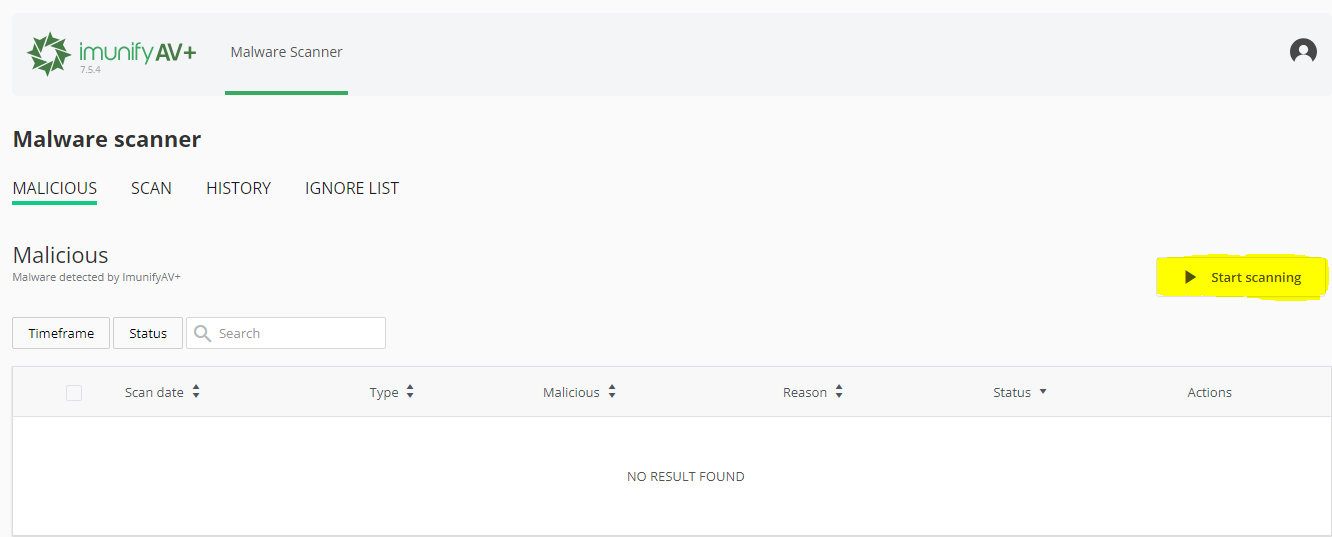
2. You can view detected malware under the ‘Malicious’ tab. **You may notice that many of them are in the same location such as a plugin folder, which may suggest there is a vulnerability with that plugin that needs addressing, either by being updated or perhaps a clean install.
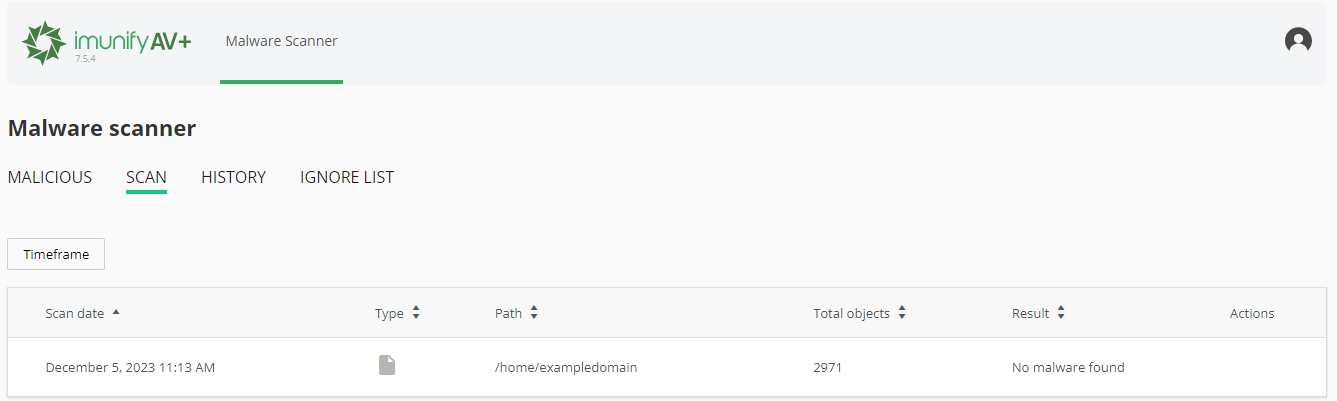
3. You can also view your previous malware scans under the ‘Scan’ section below.
Manually check for undetected malware
Manual and automated malware scanning is great but it’s not infallible. Malware is constantly changing and zero-day exploits exist so if malware remains present after scanning you need to perform a manual investigation.
Key things to look for:
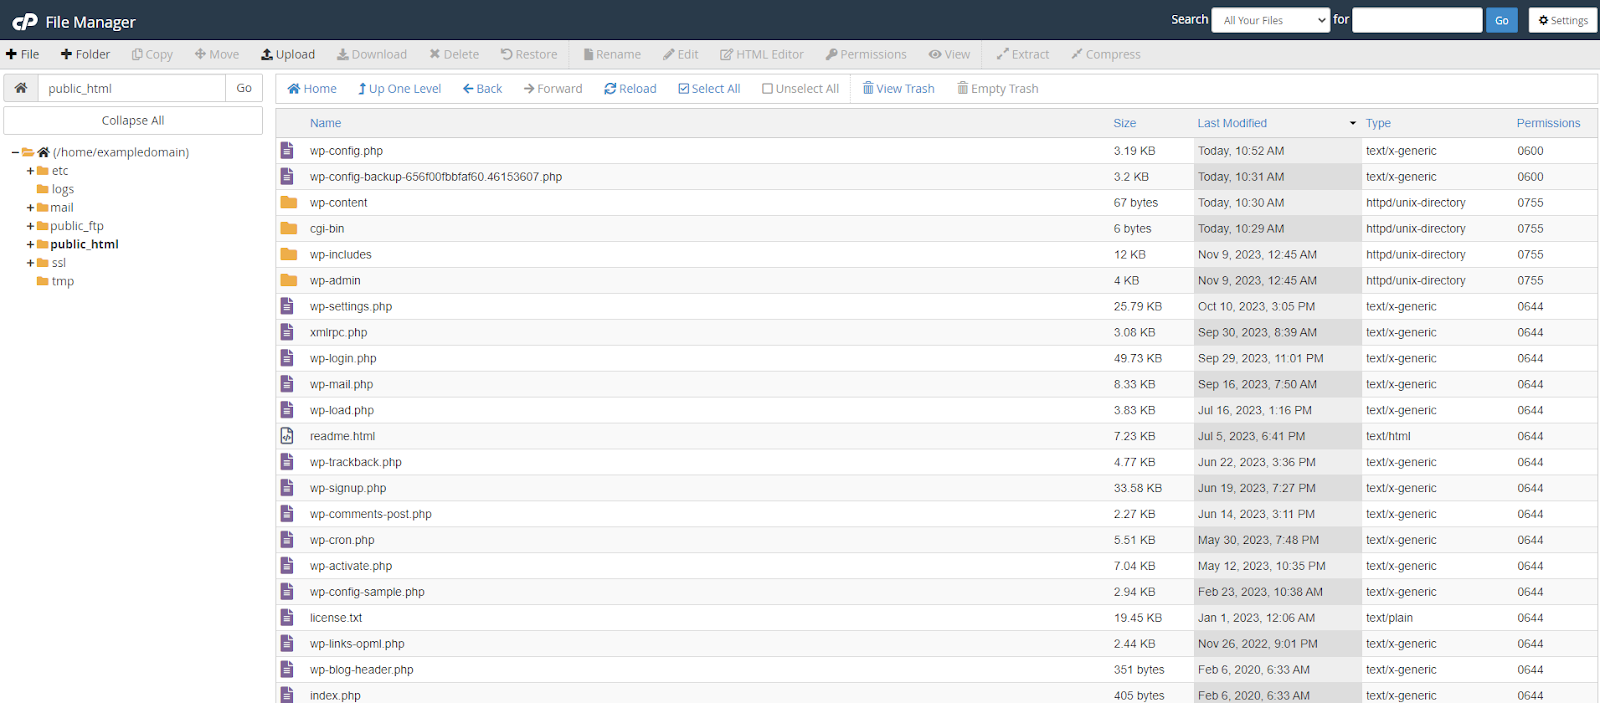
- Folders/Files that have recent ‘created’ or ‘modified’ dates.
- Folders/Files with unusual names for example ‘ajwzxq.php’.
You can sort by last modified from within your control panel or your chosen FTP client.
When using this method, if you find a suspicious file it is important to first ascertain if it is used by a plugin or theme on your site, as this might indicate a vulnerability with that plugin. If you believe the file is malicious remove it.
Removing malicious files doesn’t prevent reinfection. it is important that the vulnerability allowing the infection needs to be resolved to effectively prevent malware .
Finding malware in most cases is straightforward, usually indicated by an oddly named, possibly newly modified file that contains heavily obfuscated code.
Keep an eye out for files that:
- Look out of place and/or have strange names.
- Modified recently.
- Use eval() function.
- Have obfuscated code (base64, etc).
- Have lots of random strings and/or expressions.
How can I protect my website from future malware?
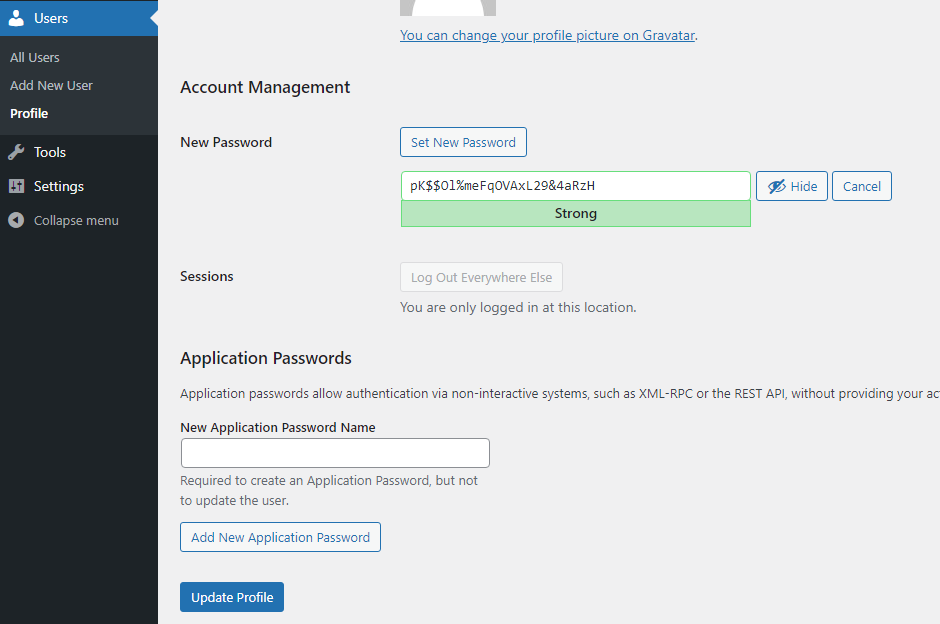
Update your passwords
1. Login to your WordPress dashboard, go to Users, Edit User, and then scroll to the bottom, set a new password, and ‘Update Profile’.
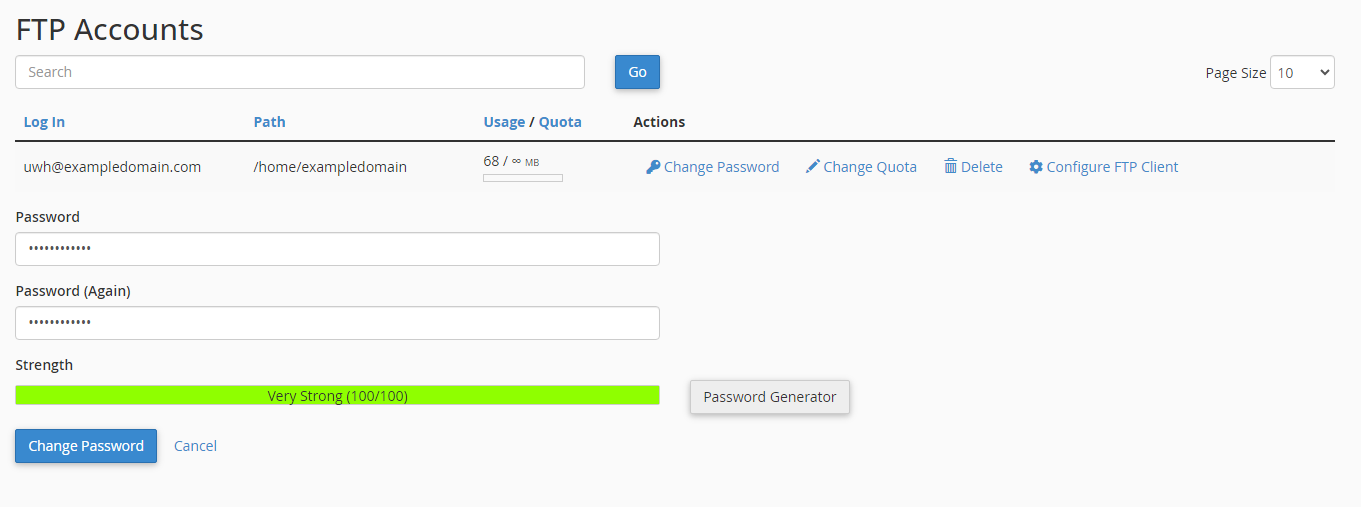
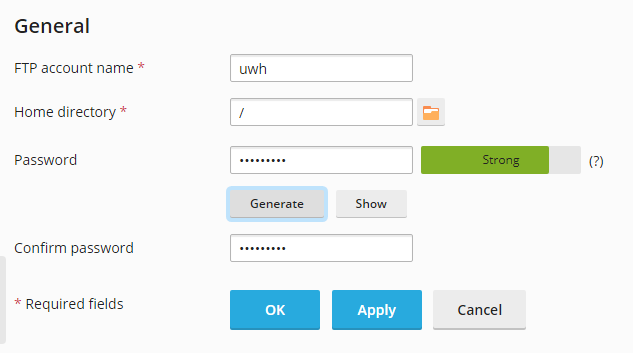
Changing FTP Passwords
Want to learn more about FTP? Set up FTP Accounts.
1. For cPanel go to FTP accounts and click ‘change password’.
2. For Plesk it is under ‘FTP’ and click into the FTP account.
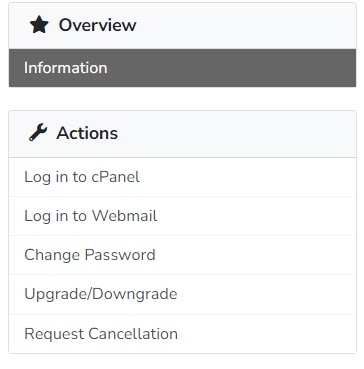
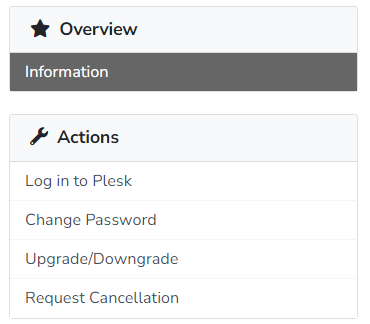
Change Control Panel Login
1. You can change your cPanel/Plesk login details from your client area. To do this, go to ‘Services’ then click your service, then click ‘ Change password’ under ‘Actions’ to ‘Change password’.
2. Remove unrecognised accounts.
Unrecognised WordPress Users
Compromised WordPress sites may have, new user accounts added, some with administrator privileges. It is important to remove any unknown accounts preventing unauthorised access. To delete a WordPress user, click ‘Delete’ highlighted in the image below.

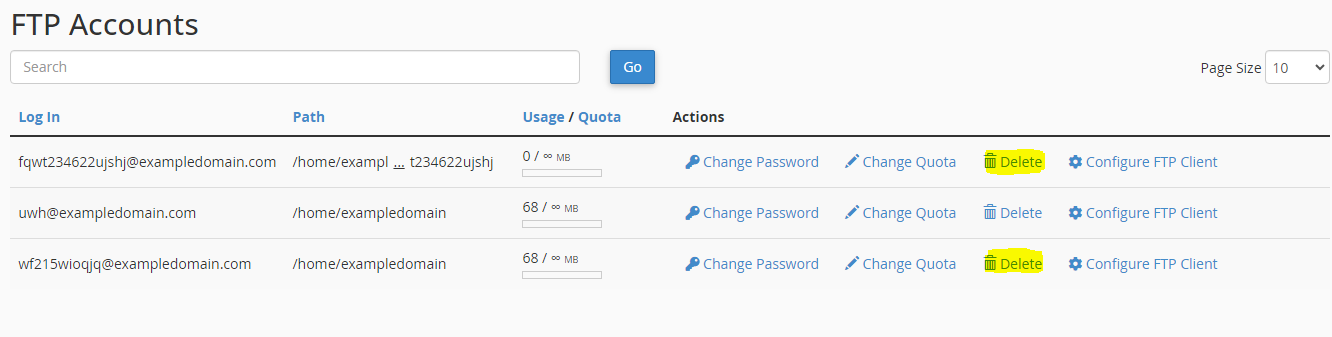
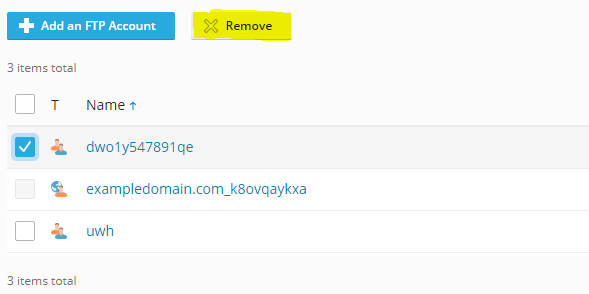
Unrecognised FTP Accounts
Similarly, FTP accounts can be managed and any unrecognised FTP accounts deleted by pressing delete in the FTP accounts area.
For Plesk users, this is in the ‘FTP’ section. Check the user account to delete and then click remove.
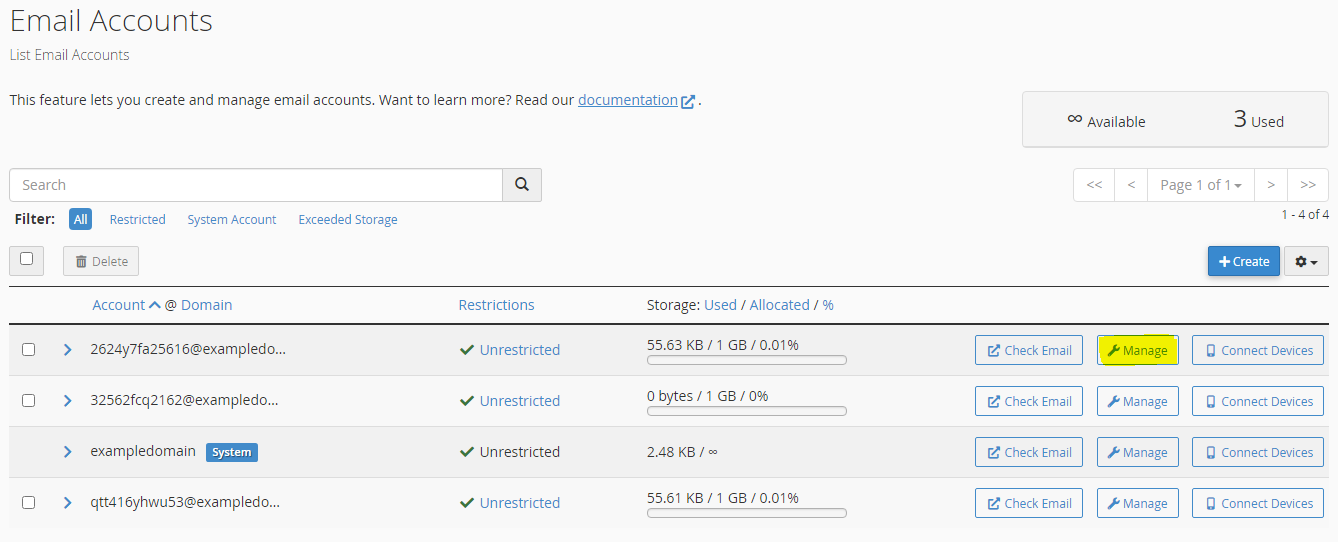
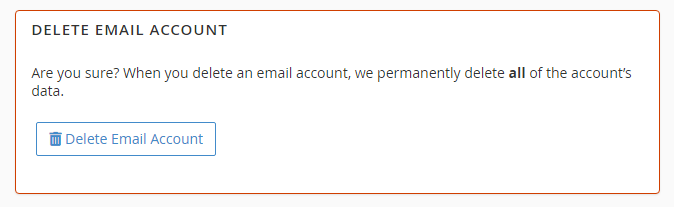
Unrecognised Email Accounts
Email accounts may have also been created when your website has been hacked, these can then be used to send out spam. To prevent this you must remove the malicious email accounts. To do this click ‘Manage’ then ‘Delete Email Account’.
For Plesk users this can be done under ‘Mail’ then ‘Mail Accounts’.

Ensure that WordPress itself is kept up-to-date.
WordPress release major updates across the year and minor updates more frequently. It’s important to stay updated as updates often include patches for security flaws. If you are unsure whether your WordPress installation is up to date you can view this in either WordPress Toolkit or Softaculous.
Ensure that all plugins and themes are kept fully up-to-date.
You also need to keep plugins and themes up to date. WordPress Toolkit and Softaculous help with this by identifying any available updates and offering the ability to auto update your plugins, which we recommend you turn on. You can also update directly through your WordPress dashboard by going to the ‘Plugins’ section and then clicking ‘Update’ underneath the outdated Plugin.
Ensure that all plugins used by your website(s) are widely used and frequently updated by their developers.
A common misconception is that because a plugin is ‘up to date’ it is secure. Unfortunately, this is not the case. If plugin updates are infrequent, it’s possible that its development & maintenance is not active which could lead to vulnerabilities going unchecked. We strongly recommend that you should only use plugins which are both widely used and frequently updated. In addition to this if you have older plugins that you no longer use then it would be wise to remove those plugins from your installation.
You should ensure that your plugins and themes are from legitimate sources.
There have been cases where developers have installed ‘nulled’ (pirated) versions of WordPress themes, these very often come with malware ‘pre-installed’. And, pose a much greater security risk to your WordPress installation. You should only use plugins and theme from legitimate sources
Install a Security Plugin.
There are many security plugins available for WordPress, these include free, freemium or paid for plugins. They’re great for adding an extra layer of security for your website and can help monitor malicious activity, notifying you of vulnerabilities and reporting on possible attacks. For example WordFence which has features such as but not limited to; Rate Limiting, IP Blocking, Malware Scans and 2FA logins.
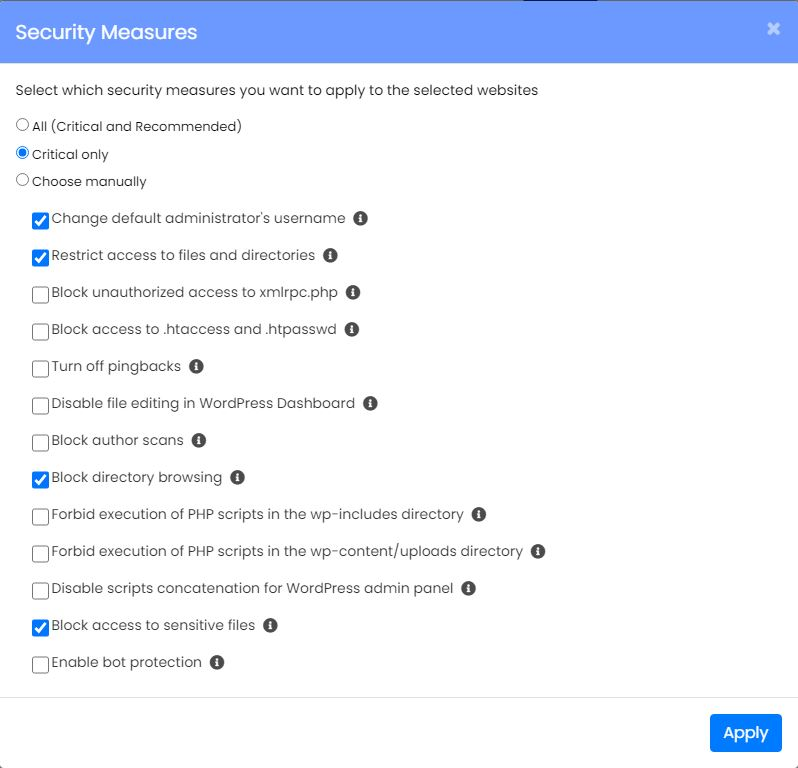
Implement extra Security Measures
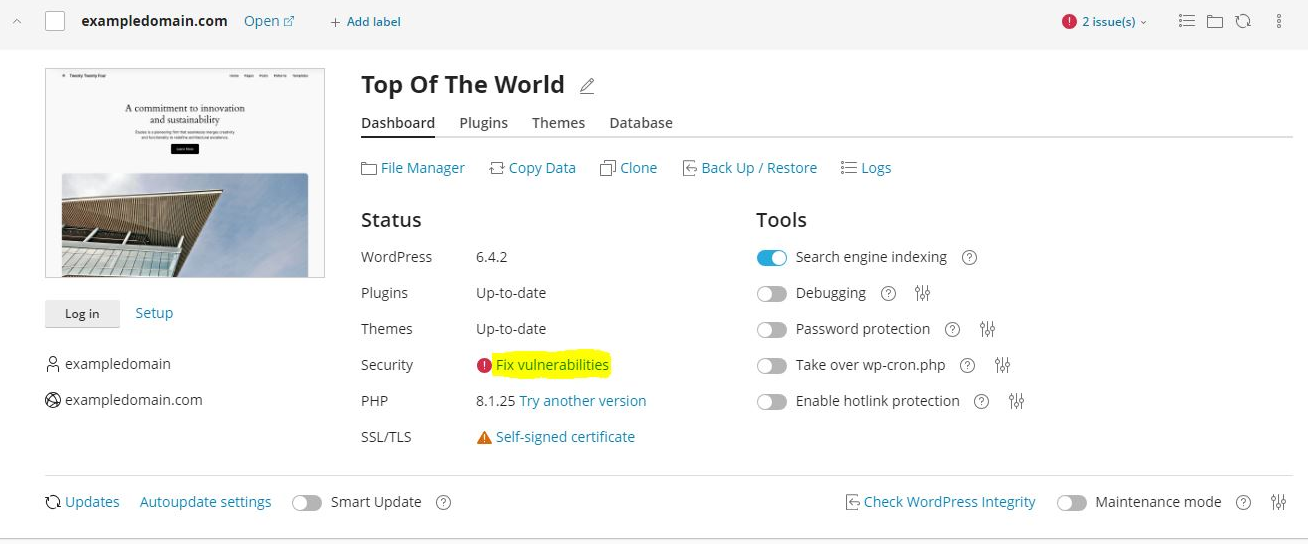
Both WordPress Toolkit and Softaculous provide the capability to enable extra security measures for your WordPress website with a simple tick of a checkbox.
These can be found for WordPress Toolkit in ‘Fix Vulnerabilities’ and then ‘Security Measures’.

The security measures page contains settings that when enabled add extra layers of security. Softaculous allows you to apply pre-set of ‘Critical Only’ measures, these have the least chance of negatively impacting your site. You can also manually enable measures but they have the possibility of disrupting your sites functionality. To avoid this ensure you read through the relevant tooltips.