How to disable WordPress plugins using WP Toolkit
In this guide learn how to access and use the WordPress Toolkit in cPanel to deactivate inactive plugins. Being able to disable plugins is a key part of managing WordPress, plugins are great but poor performing or vulnerable plugins must to be disabled.
Leaving vulnerable plugins active on a site is an invitation for malware. Managed WordPress has access to WP Toolkit which lets you deactivate multiple plugins at once from cPanel.
Access and use WP Toolkit in cPanel
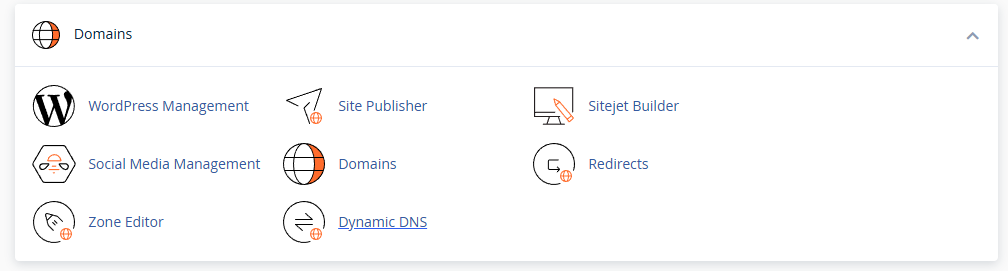
1. First up start by logging into to your cPanel control panel and then navigate over to the domains section. Then, from here click on WordPress Management.
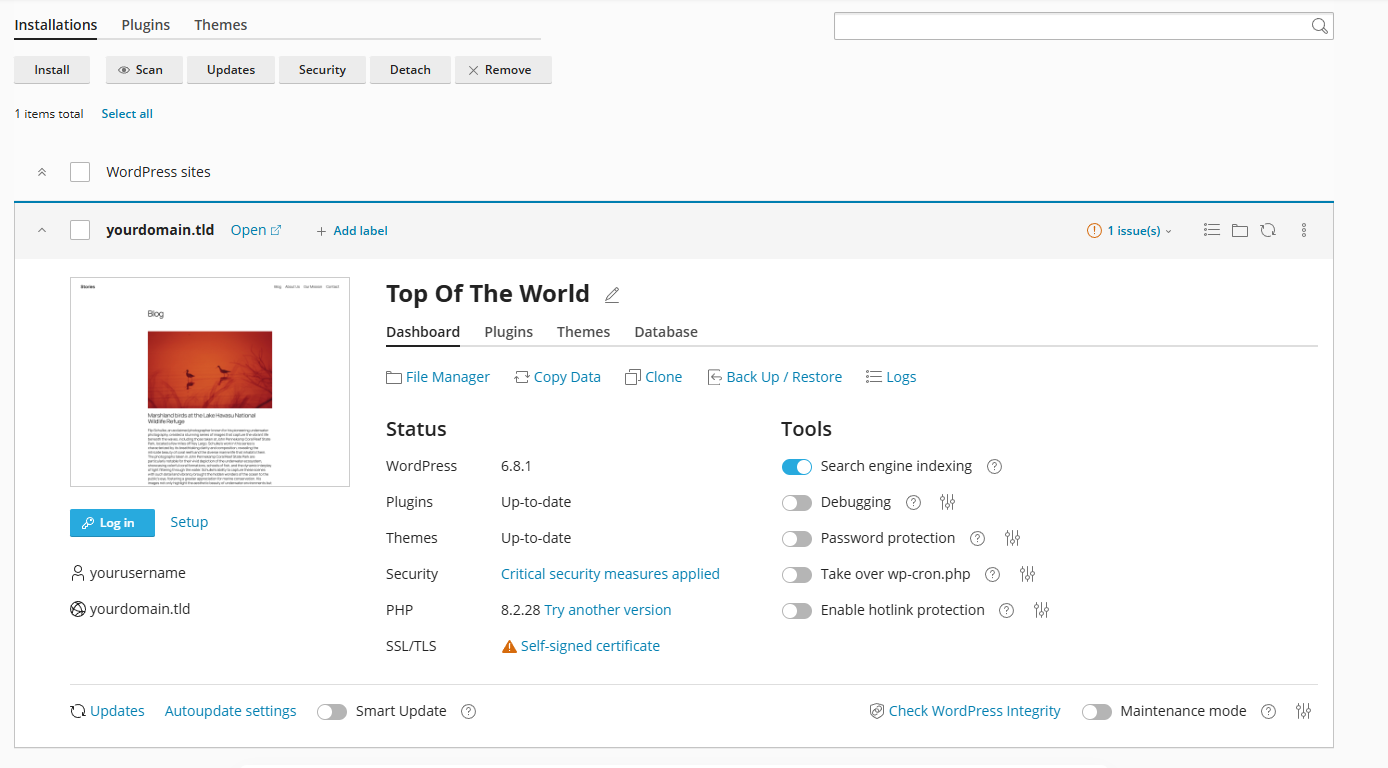
2. Afterwards click on WordPress management to head to the main WP Toolkit overview page. From here you can see the different options for the selected WordPress install. Advance by clicking on Plugins in the navigation bar at the top of the toolkit.
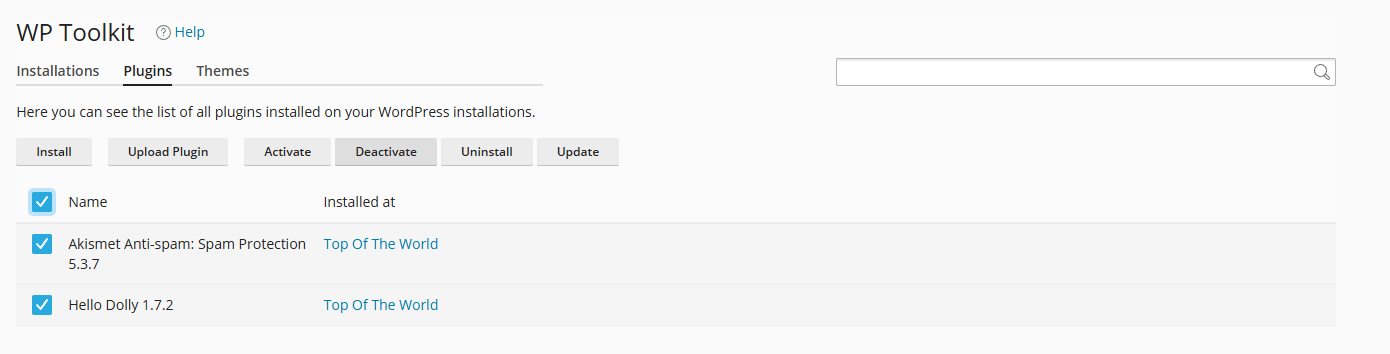
3. Then from the plugins page you can see all of the active plugins for the selected WordPress install. Using the individual checkboxes or select all as shown in the screenshot below select the plugins you want to disable. Then click on deactivate to disable those WordPress plugins.
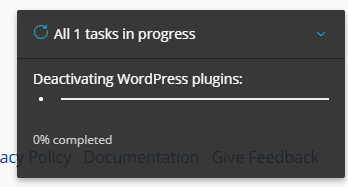
4. Now you have started the deactivation task for those plugins you will be able monitor its progress with the status notice in shown in the bottom right.
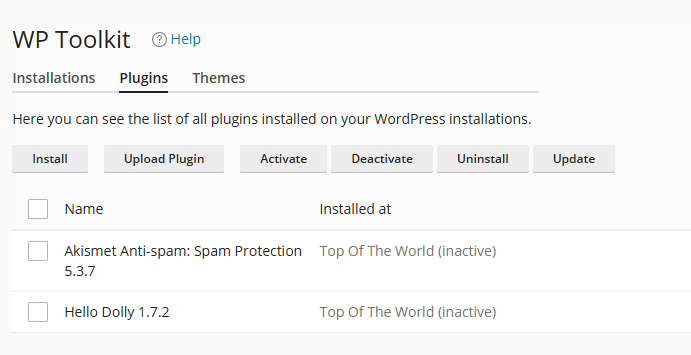
5. Finally, confirm those plugins have the inactive status.